Configuring Kagent In Kubernetes
Where kagent shines, aside from the ability to use just about any LLM, is the ability to use Agents as a tool for troubleshooting your environment. The goal is to reduce the "low-hanging fruit" of putting out fires. As the Google SRE Handbook states, a maximum of 50% of your time should be for emergencies.
In this blog post, you'll learn how to install kagent with Claude and configure a Model in kagent.
Prerequisites
To follow along with this blog post, you should have a Kubernetes cluster up and running. The codebase below is deployed to Azure Kubernetes Service (AKS). If you need the HCL/Terraform config for an AKS cluster, you can find it here.
Installing Kagent With Anthropic
In the first section, you'll learn how to install kagent and kick off the configuration without Anthropic/Claude as your base LLM. However, you can change to a different LLM if you'd prefer.
- Install the kagent CRDs to extend the Kubernetes API for kagent usage at the programmatic level.
helm install kagent-crds oci://ghcr.io/kagent-dev/kagent/helm/kagent-crds \
    --namespace kagent \
--create-namespace- Set your Anthropic API key.
export ANTHROPIC_API_KEY=your_api_key- Install kagent for use with Anthropic.
helm install kagent oci://ghcr.io/kagent-dev/kagent/helm/kagent --namespace kagent \
--set providers.default=anthropic \
--set providers.anthropic.apiKey=$ANTHROPIC_API_KEY
Depending on how large your cluster is, it could take a few minutes for everything to get up and running as there are several components deployed (Cilium, Argo for app-of-apps, Grafana, and kagent).
To check and confirm kagent is up and operational, run the following:
kubectl get all -n kagentConfiguring Models
Now that kagent is installed, let's learn how to interact with the UI so we can start to make sense of the Agent features.
As you can see, there are several services and components that get deployed to your Kubernetes environment.
kubectl get svc -n kagent
NAME                             TYPE        CLUSTER-IP     EXTERNAL-IP   PORT(S)    AGE
argo-rollouts-conversion-agent   ClusterIP   10.0.164.92    <none>        8080/TCP   80s
cilium-debug-agent               ClusterIP   10.0.31.113    <none>        8080/TCP   79s
cilium-manager-agent             ClusterIP   10.0.86.3      <none>        8080/TCP   78s
cilium-policy-agent              ClusterIP   10.0.35.21     <none>        8080/TCP   77s
helm-agent                       ClusterIP   10.0.7.214     <none>        8080/TCP   77s
istio-agent                      ClusterIP   10.0.10.71     <none>        8080/TCP   77s
k8s-agent                        ClusterIP   10.0.23.80     <none>        8080/TCP   76s
kagent-controller                ClusterIP   10.0.152.255   <none>        8083/TCP   91s
kagent-grafana-mcp               ClusterIP   10.0.70.153    <none>        8000/TCP   91s
kagent-querydoc                  ClusterIP   10.0.70.10     <none>        8080/TCP   91s
kagent-tools                     ClusterIP   10.0.28.156    <none>        8084/TCP   91s
kagent-ui                        ClusterIP   10.0.41.122    <none>        8080/TCP   91s
kgateway-agent                   ClusterIP   10.0.17.70     <none>        8080/TCP   76s
observability-agent              ClusterIP   10.0.1.55      <none>        8080/TCP   83s
promql-agent ClusterIP 10.0.189.252 <none> 8080/TCP 82s- Run the following to access the kagent UI:
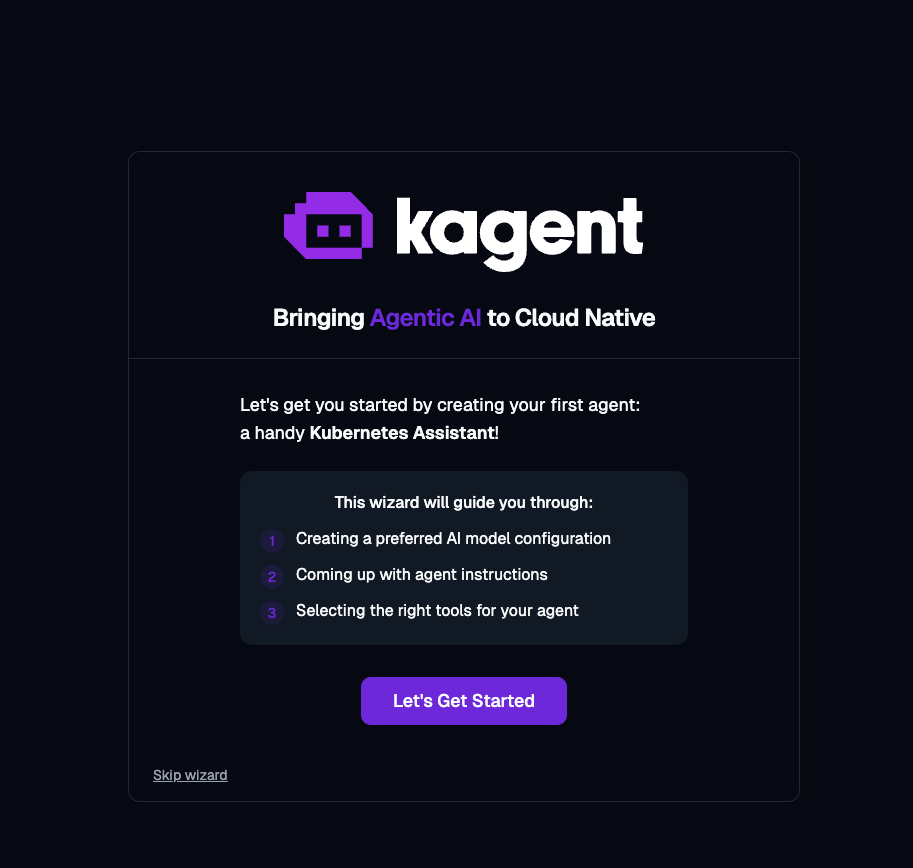
kubectl port-forward svc/kagent-ui 8080:8080 -n kagent- Click the purple Let's Get Started button.
- If you click the Select Existing button, you'll be able to see a Claude Model. If you'd like to add another Model (e.g - GPT), you can do so here.

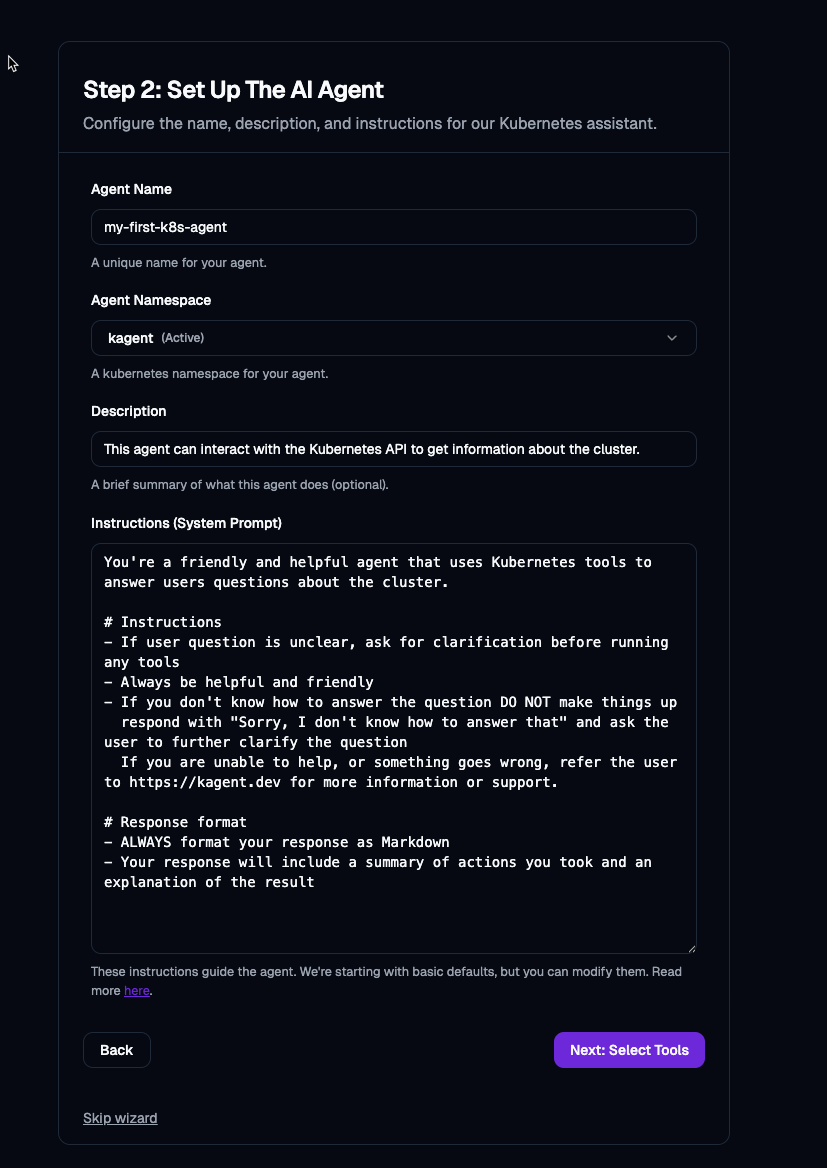
- Set up the Agent to work in a way that you need for your environment via a prompt.
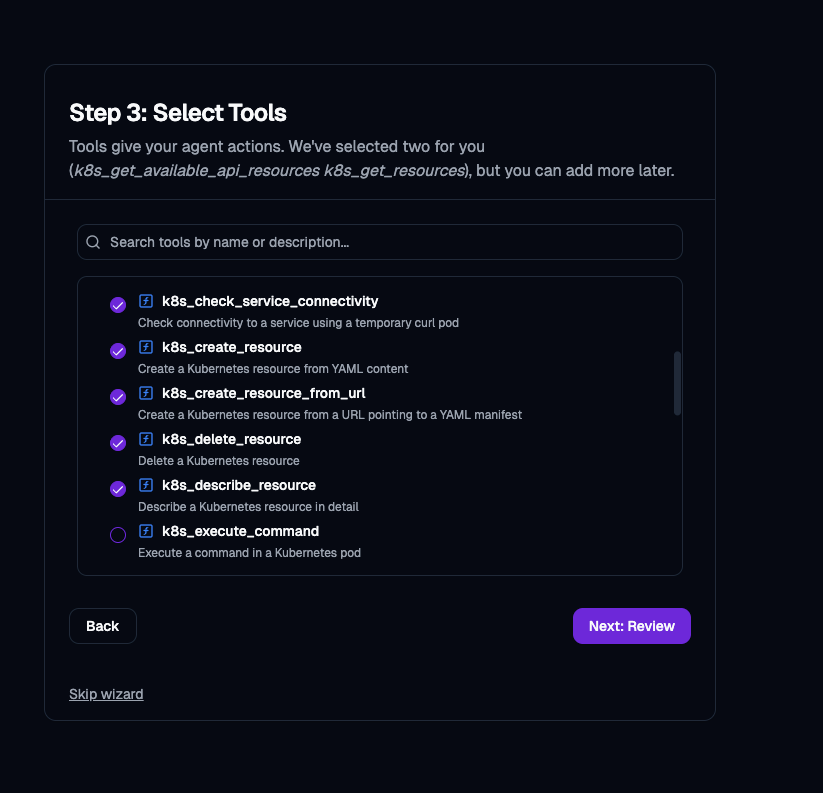
- Select the tools that you want your Agent to have access to.
As you can see, there are several tools available, ranging from Istio to Kubernetes to various other networking pieces within your cluster.
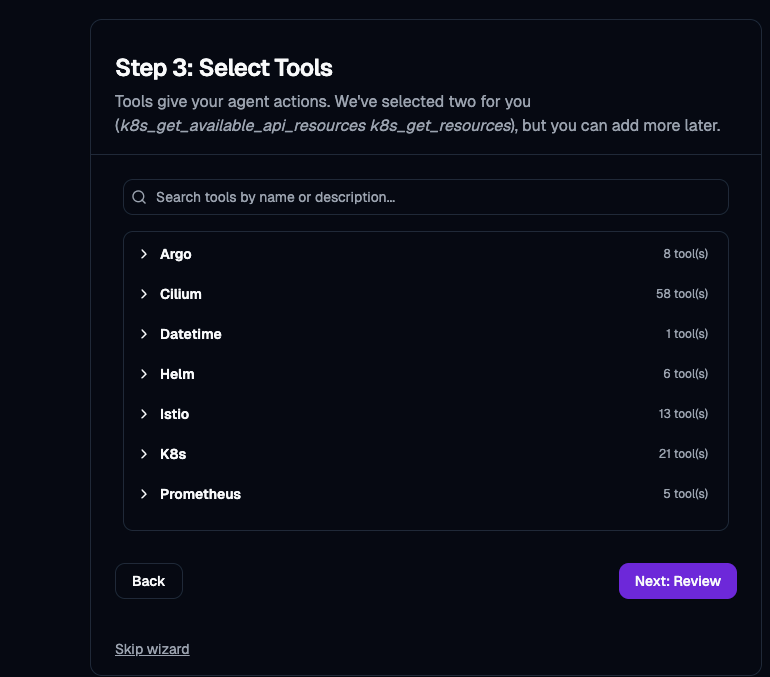
As an example, here are a few that you can check off for creating, deleting, and describing resources within your environment.
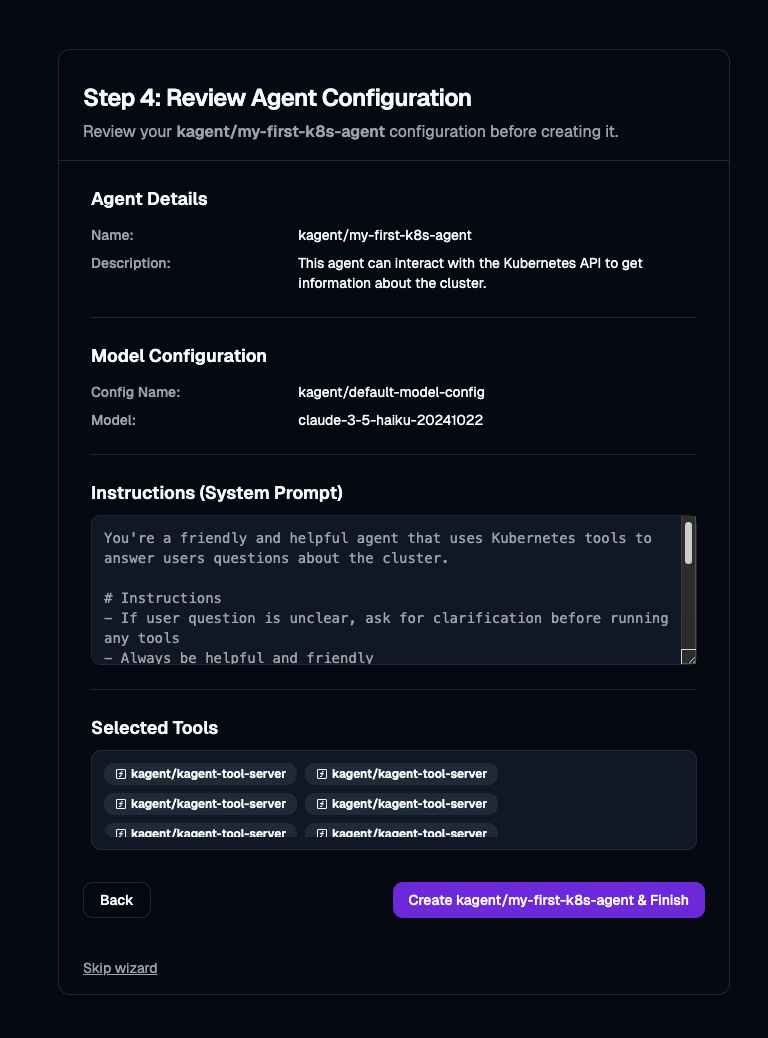
- Once complete, create your Agent.
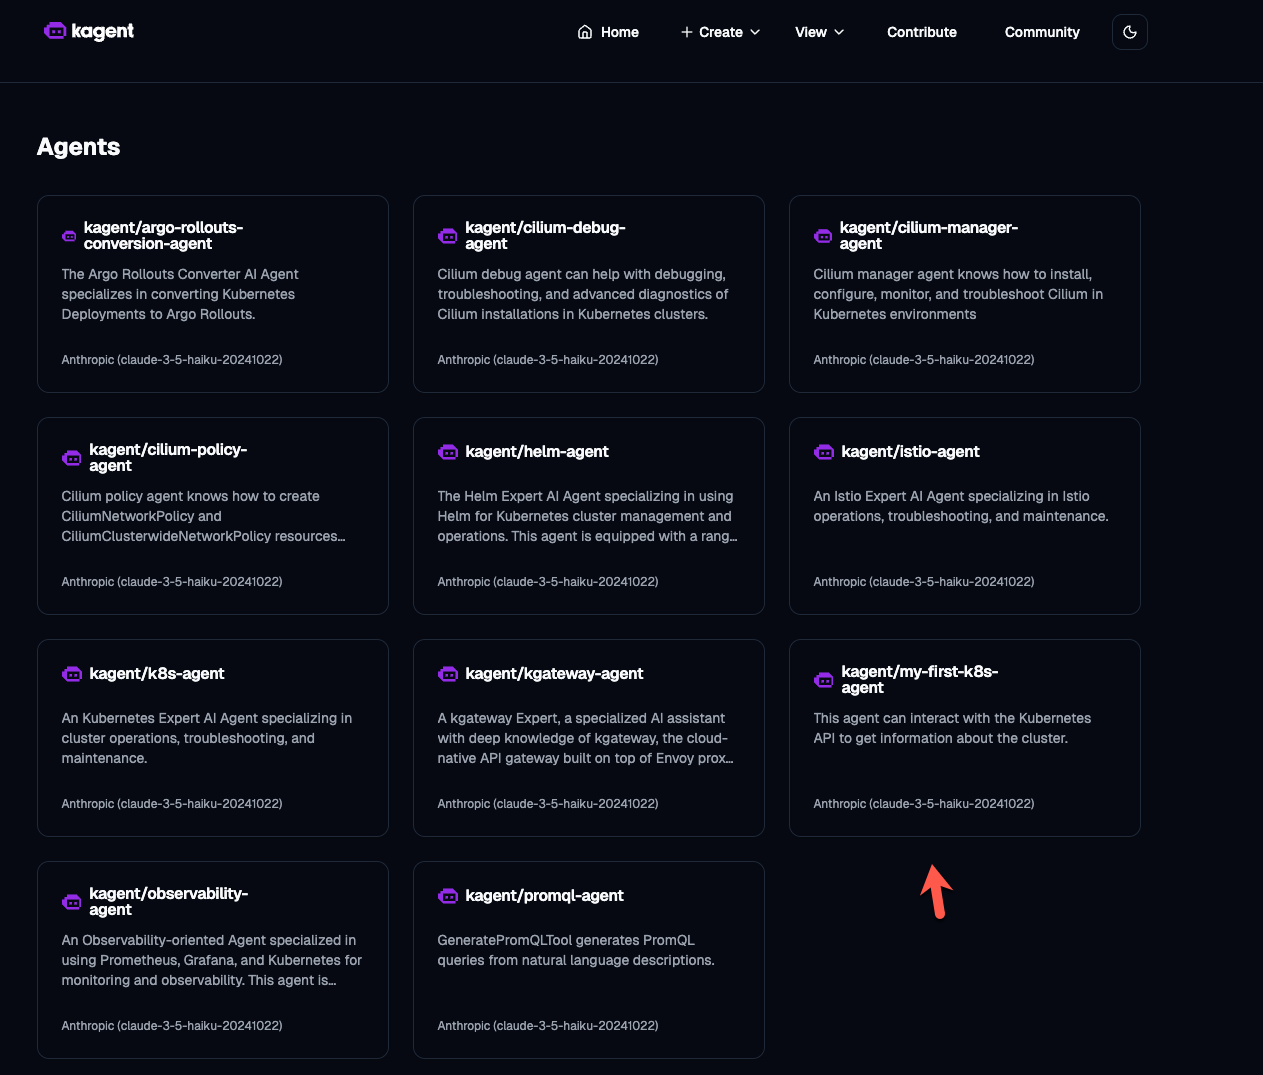
You can now view your new Agent along with a few other Agents that come out of the box with kagent.
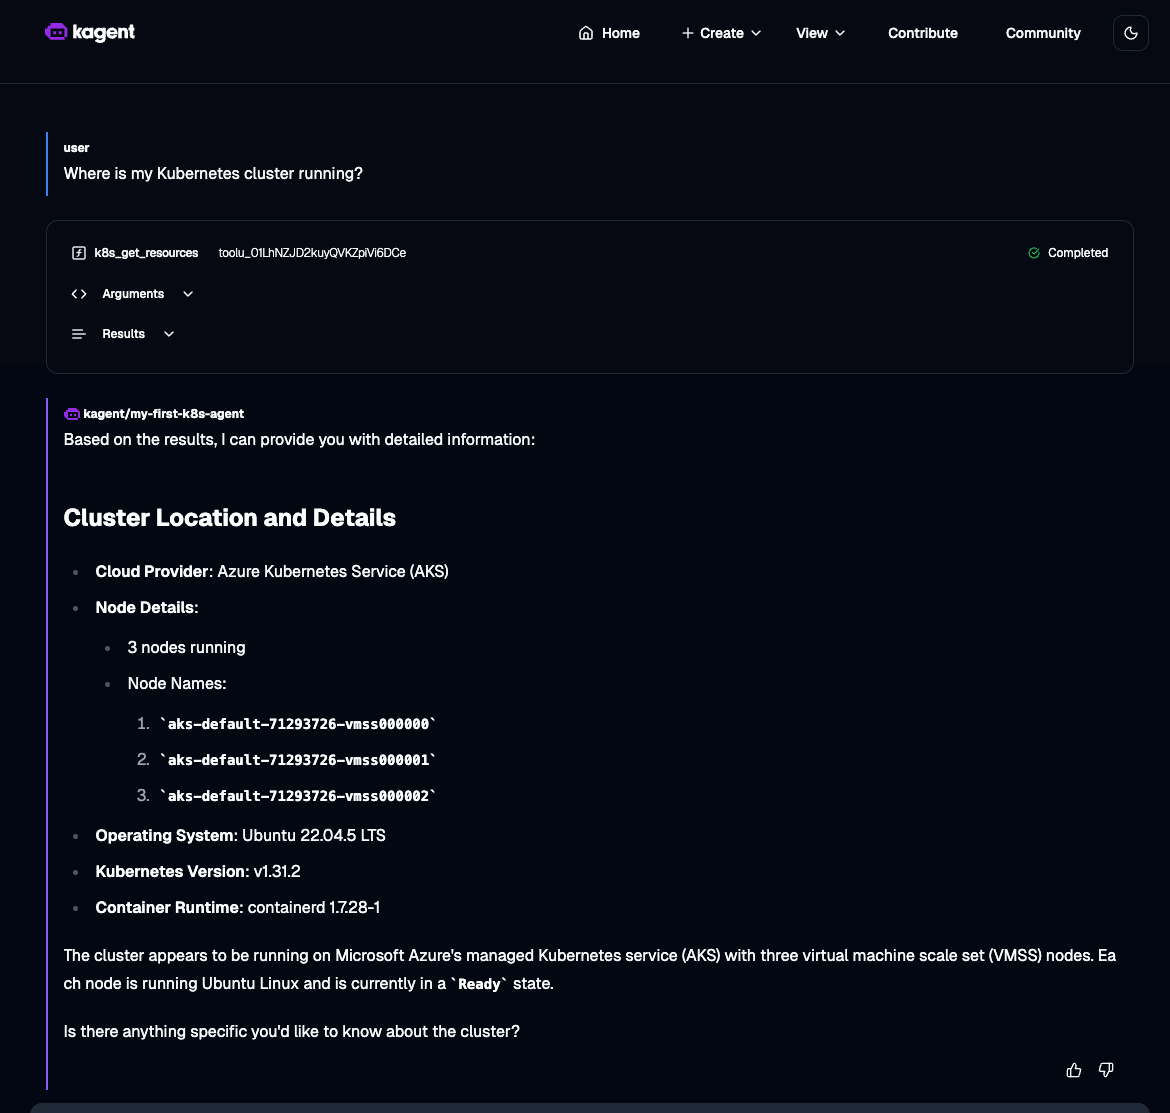
Here's an example of asking a question to the Agent about the Kubernetes environment you're running in.

Your personal Kubernetes Agent is now ready to be used to help you troubleshoot, deploy, and manage your workloads!


Comments ()