Kubernetes Gateway API + Istio For North/South Traffic
Arguably, there are two things that every environment cannot live without:
- Proper network traffic/network handling.
- Persistent data/databases
From a networking perspective, there's traffic everywhere. It's coming into your clusters and leaving your clusters. It's also traversing through your clusters. Whether you're dealing with north/south traffic or east/west traffic, managing who/what has the ability to send and receive packets is the make or break between performance, security, compliance, and overall proper routing.
That's why it's so important to have a good understanding of your network as a whole.
In this blog post, you'll learn about one key aspect - the north/south implementation with Gateway API and Istio.
Who And What Has Access?
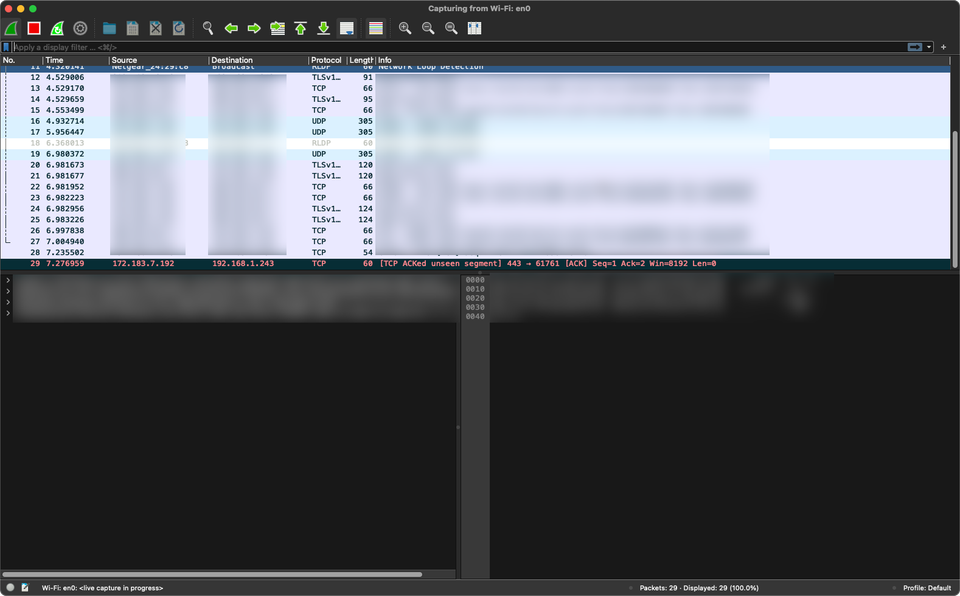
Let's run through a test together. Download Wireshark (a packet analyzer/sniffer) and run it on your machine.
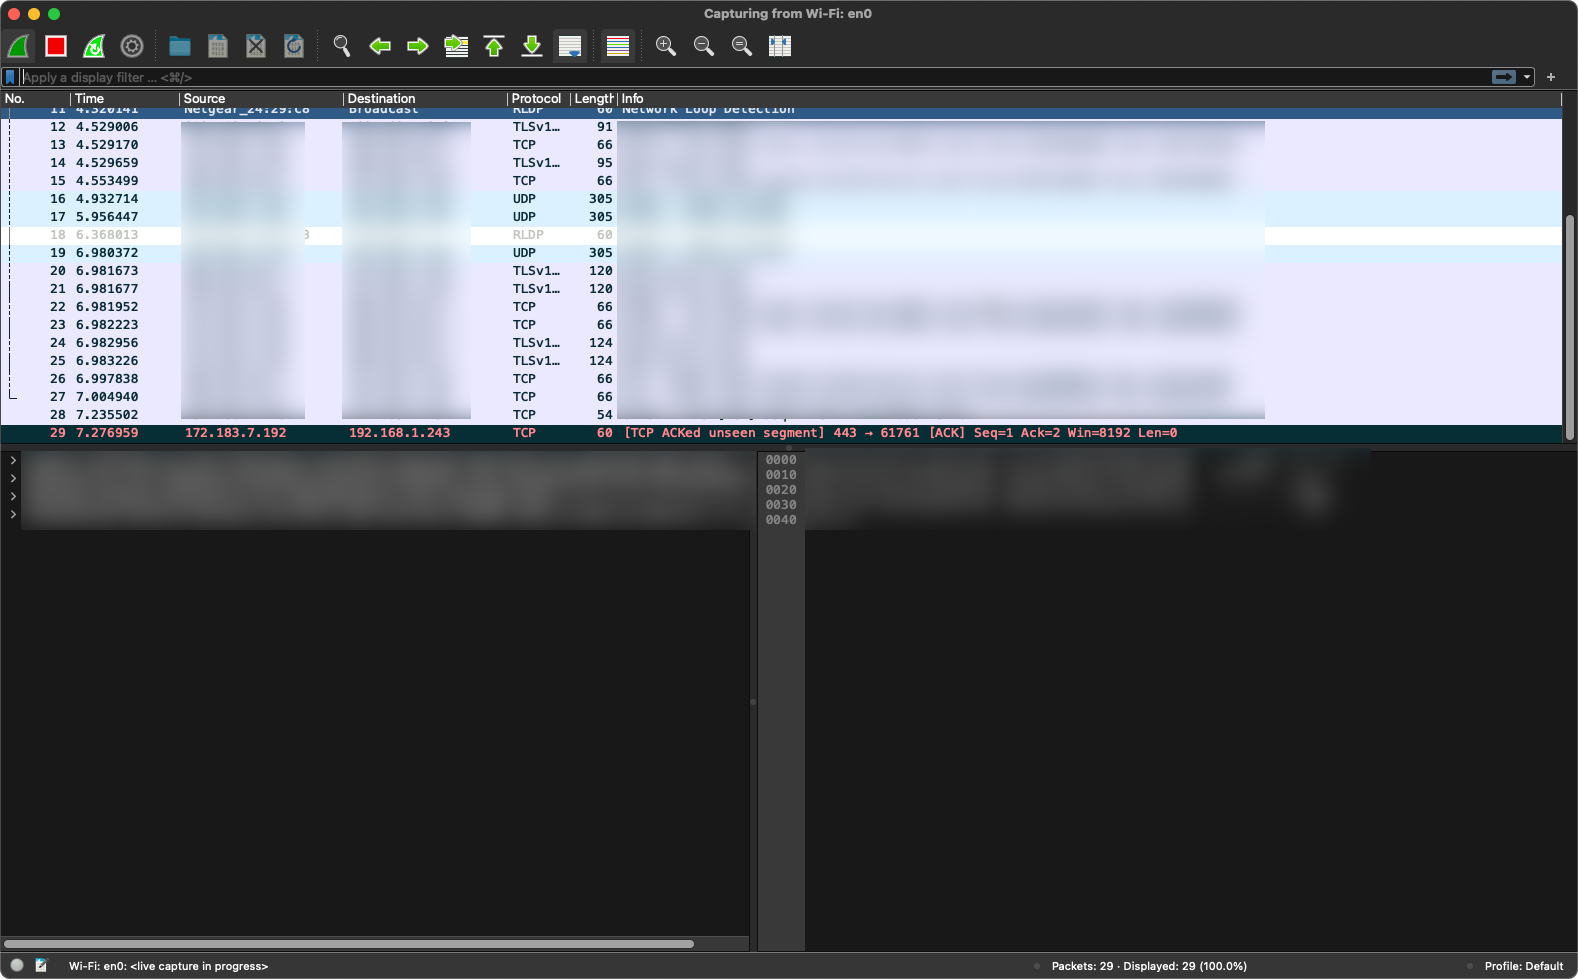
If you leave it running long enough, without even touching your keyboard, you'll see packets just flowing through. That's all of your background processes/apps making network calls. If you start making network calls yourself (e.g - accessing a website), you'll see even more.
There are two points here to consider:
- What is your computer accessing
- What's sending traffic back
And if you think the flow of packets you're seeing on your computer is a lot, imagine what it looks like in a production environment. One of the hardest things in engineering is figuring out what's going where and what is coming in (ingress/egress or north/south). That's why in production it's so crucial to manage this traffic as much as possible.
Enter Kubernetes Gateway API.
Kubernetes Gateway API
In the realm of Kubernetes, there have been (more or less) two phases of ingress/egress traffic:
- Ingress Controllers
- Gateway API
Functionally, they can both do the same thing (manage incoming traffic). The goal with Kubernetes Gateway API, however, is that it's agnostic, which follows the Kubernetes model in comparison to being locked in to a particular vendor. For example, you can configure the same exact HTTPRoute object (more on setting that up later) with the same configurations and it'll work across all Ingress Controllers. If you choose a particular Ingress Controller to route traffic, however, you're bound by the CRDs that are available from that vendor.
If you want to learn more about Gateway API, I wrote another blog post going over it from a theoretical perspective.
Step 1: Demo App
To set up traffic management with Gateway API, you'll need a demo app within your environment. For the purposes of this blog post, you can use the Emojivoto app.
- Clone the demo app repo.
git clone https://github.com/digitalocean/kubernetes-sample-apps.git- Create a Namespace for the app.
kubectl create ns emojivoto- Change directories into the app.
cd kubernetes-sample-apps/emojivoto-example- Deploy the app.
kubectl apply -k kustomize/- Ensure that the app is up and running.
kubectl get pods -n emojivotoYou should see an output similar to the one below:
emoji-766c6bc7d7-h85rd     1/1     Running   0          95s
vote-bot-c4db45fcb-qtvbt   1/1     Running   0          95s
voting-f55fb84b8-hm5z7     1/1     Running   0          95s
web-66895cfcf4-fp6h2       1/1     Running   0          94s
If you run kubectl get svc -n emojivoto, you'll also see the web service, which is the apps UI.
NAME         TYPE        CLUSTER-IP      EXTERNAL-IP   PORT(S)             AGE
emoji-svc    ClusterIP   10.100.117.29   <none>        8080/TCP,8801/TCP   2m5s
voting-svc   ClusterIP   10.100.224.30   <none>        8080/TCP,8801/TCP   2m5s
web-svc      ClusterIP   10.100.33.194   <none>        80/TCP              2m5s
Step 2: Istio Ingress
Now that you know a bit about the process of north/south (ingress/egress) traffic, let's start diving into the hands-on portion. The first step will be to get an Ingress Controller up and running.
When installing the Istio Ingress Controller, you can use Helm or the Istioctl to install.
For the Helm Configuration, see below:
helm repo add istio https://istio-release.storage.googleapis.com/charts
helm repo update

helm install istio-base istio/base -n istio-system --set defaultRevision=default --create-namespace

helm upgrade --install istiod istio/istiod -n istio-system


helm upgrade --install istio-ingress istio/gateway -n istio-ingress --create-namespace
Please note: You need to install the full Istio config (Istio CRDs and Istiod) to use the Istio Ingress Controller.
If you'd like to install with Istioctl, below is the command:
istioctl install --set profile=minimal -y✔ Istio core installed ⛵️
✔ Istiod installed 🧠
✔ Installation complete
❯ kubectl get nsSidenote: If you don't already have the Istioctl installed, here's the command to accomplish that (the command below installs Istioctl v1.27).
curl -L https://istio.io/downloadIstio | sh -
cd istio-1.27.1
export PATH=$PWD/bin:$PATH
Once it's installed, you should see the Ingress config like in the output below:
kubectl get pods -n istio-ingress
NAME                             READY   STATUS    RESTARTS   AGE
istio-ingress-66c47f986c-4thsr   1/1     Running   0          7s
Step 3: Gateway API and Traffic Routing
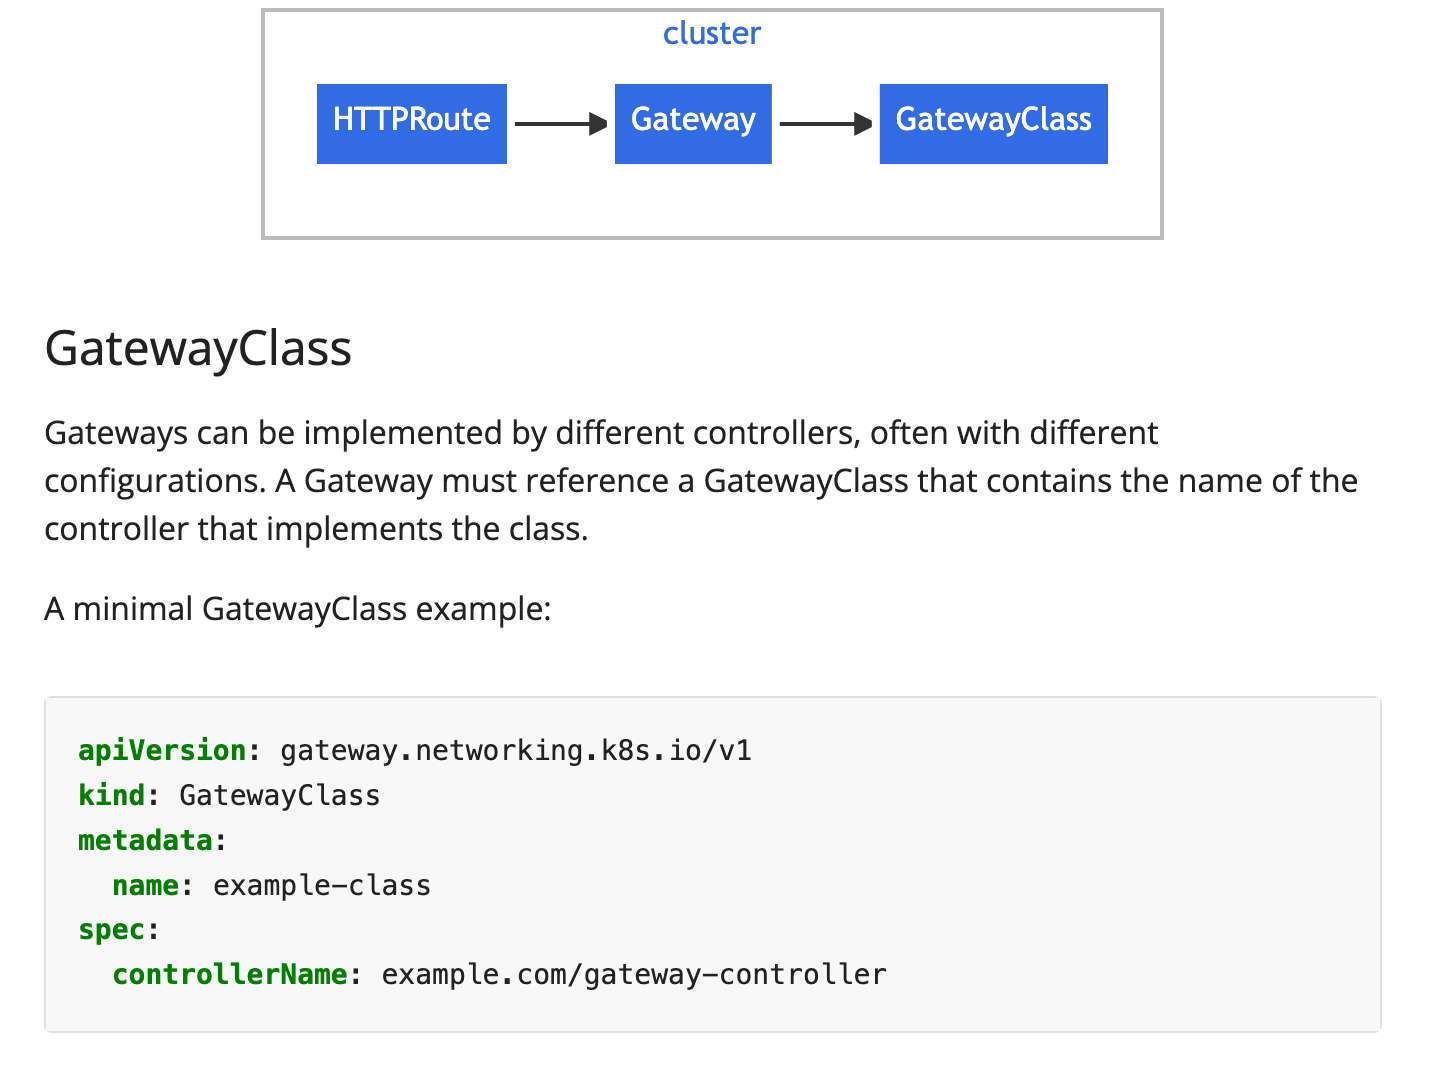
The final step is to configure the Gateway and create proper routes to the Emojivoto application.
- Install the Gateway API CRDs as they do not come out of the box with Kubernetes at this time.
https://github.com/kubernetes-sigs/gateway-api/releases/download/v1.3.0/standard-install.yamlIf you run kubectl get gatewayclass after the CRDs are installed, you'll see that there's an Istio controller already deployed.
kubectl apply -f - <<EOF
apiVersion: gateway.networking.k8s.io/v1
kind: GatewayClass
metadata:
  name: istio
spec:
  controllerName: istio.io/gateway-controller
EOF- Create the Gateway. Notice how it's pointing to the Ingress Controllers Namespace and configured to use the Emojivoto application.
kubectl apply -f - <<EOF
apiVersion: gateway.networking.k8s.io/v1
kind: Gateway
metadata:
  name: emojivoto
  namespace: istio-ingress
spec:
  gatewayClassName: istio
  listeners:
  - protocol: HTTP
    port: 8080
    name: emojivoto
    allowedRoutes:
      namespaces:
        from: Selector
        selector:
          matchLabels:
            kubernetes.io/metadata.name: emojivoto
EOF- Create a new route that indicates that traffic will be routed to the backend, and the backend in this case is the web service from the Emojivoto application. Please note: the Namespace in the parent reference isn't the
emojivotoNamespace, it's the Namespace where the Ingress Controller lives.
kubectl apply -f - <<EOF
apiVersion: gateway.networking.k8s.io/v1
kind: HTTPRoute
metadata:
  name: emojivoto
  namespace: emojivoto
spec:
  parentRefs:
    - name: emojivoto
      namespace: istio-ingress
  rules:
    - backendRefs:
        - name: web-svc
          port: 80
EOF- To confirm that the route was created, run the following.
kubectl get httproute -n emojivotoSidenote: Don't be alarmed if you see the hostname part blank. That's because the hostname parameter was not specified in the config.
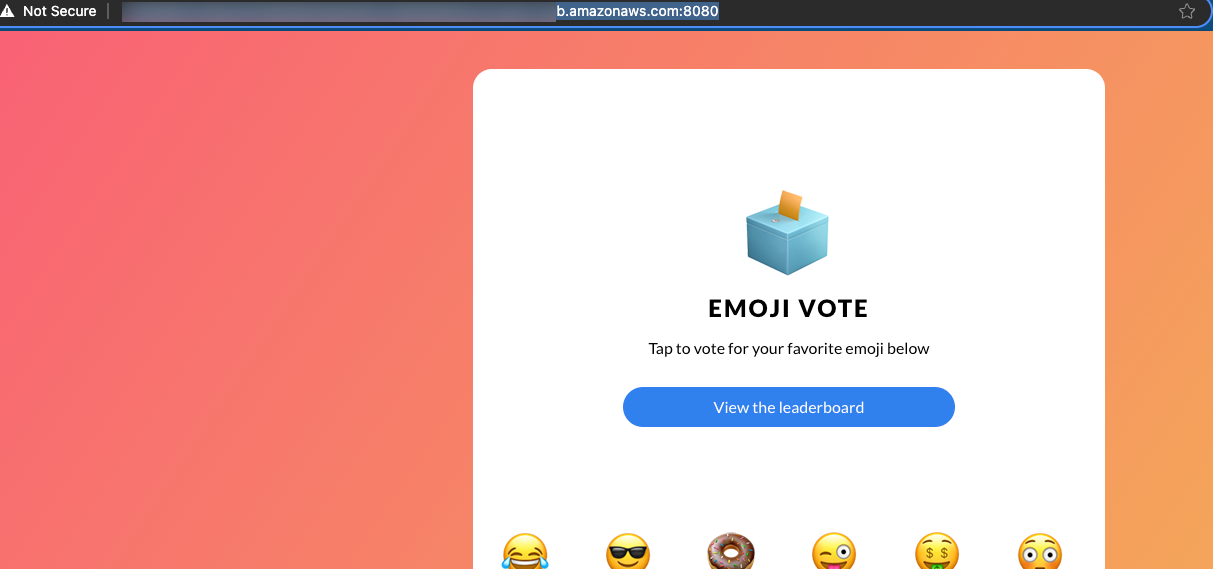
- Get the address of your Gateway, open up a browser, and go to the following:
kubectl get gateway -n istio-ingresshttp://YOUR_GATEWAY_ADDRESS:8080/You should now see an output similar to the screenshot below.
Conclusion
Network traffic is everywhere and with new technology/protocols like MCP Servers and Agent-to-Agent (A2A), network packets that are flowing through the public internet are increasing at a rapid rate. Because of that, you want to make sure you have an approach for understanding how the traffic is managed and what traffic can make it to your environment.


Comments ()