Protecting MCP Tools with OAuth and JWT: Authentication and Access Control
Security is no longer taking a backseat in the world of Agentic. Just about every conversation that happens in organizations around AI has something to do with security, and it's not just the security team - it's Platform Engineers, DevOps Engineers, and leadership/management.
The running joke is "the S in MCP stands for security", and with good reason; Agents are calling out to, quite literally, random tools, and there's no way of knowing if the MCP endpoints are secure (not to mention, no way of knowing WHO is using those MCP Servers). Remote MCP Servers are a black box, and because they aren't running in your environment, you have zero way of knowing the protocols around how they're implemented. That's why ensuring who can use what MCP Servers is such a crucial component in the Agentic world.
In this blog post, you'll learn about a few key ways to ensure proper access to MCP Servers for your team and entire organization with oAuth and JWT.
Prerequisites
To follow along in this blog post from a hands-on perspective, you will need:
- A Kubernetes cluster.
- VS Code installed.
- MCP Inspector installed.
oAuth Breakdown
OAuth is a framework that defines how clients (MCP Inspector, VS Code, app, etc.) can obtain delegated access via tokens. These tokens are then used for authorization (proving the client has access to the specific endpoint).
There are various ways to implement auth in this fashion:
- OIDC-based oAuth: authenticate through an endpoint with your user credentials.
- OBO oAuth: an Agent can perform actions based on your credentials and what you have access to.
- Token exchange: OBO is built off the concept (not the exact protocol) of token exchange (swap tokens for impersonation, delegation, and permission change).
- Standard JWT (great for testing): take a token that youve generated and has an attached claim to authenticate via the bearer token.
- URL mode elicitation: a browser pops up for you to log in with your credentials (third-party oAuth flow).
You’ll also see a lot of number 4 for streamable HTTP MCP Servers coming from a platform that already gives users a way to generate tokens. For example, with the GitHub copilot MCP Server, you can authenticate by default with a PAT (personal access token) that you can generate from GitHub.
MCP Client Usage
One thing that continues to be a pain point for auth within the MCP world is what clients will work with what methods. For example, your oAuth flow may work in VS Code, but not in MCP Inspector. The reason is that each client tends to incorporate a specific part of the spec. With VS Code, CIMD (no registration point to secure and manage) is fully supported. However, with MCP Inspector, it appears that the supported spec is PKCE/authorization codes. Another piece to think about is the redirect URI that’s needed for the callback. Does the client you’re using for OIDC-based oAuth support redirection properly?
Locking Down MCP Tools With A Token
To conceptualize an approach for security for MCP, let's take a simple approach - using a JWT. In production, you'll never (or at least shouldn't be) passing around tokens as it gets fairly cumbersome (imagine hundreds or thousands of tokens that need to be managed one by one), but it's a great way to see the general approach and get your head wrapped around the idea in the, what we can call "manual way".
MCP Server Setup
- Deploy an MCP Server in Kubernetes.
kubectl apply -f - <<EOF
apiVersion: v1
kind: ConfigMap
metadata:
  name: mcp-math-script
  namespace: default
data:
  server.py: |
    import uvicorn
    from mcp.server.fastmcp import FastMCP
    from starlette.applications import Starlette
    from starlette.routing import Route
    from starlette.requests import Request
    from starlette.responses import JSONResponse

    mcp = FastMCP("Math-Service")

    @mcp.tool()
    def add(a: int, b: int) -> int:
        return a + b

    @mcp.tool()
    def multiply(a: int, b: int) -> int:
        return a * b

    async def handle_mcp(request: Request):
        try:
            data = await request.json()
            method = data.get("method")
            msg_id = data.get("id")
            result = None

            if method == "initialize":
                result = {
                    "protocolVersion": "2024-11-05",
                    "capabilities": {"tools": {}},
                    "serverInfo": {"name": "Math-Service", "version": "1.0"}
                }

            elif method == "notifications/initialized":
                return JSONResponse({"jsonrpc": "2.0", "id": msg_id, "result": True})

            elif method == "tools/list":
                tools_list = await mcp.list_tools()
                result = {
                    "tools": [
                        {
                            "name": t.name,
                            "description": t.description,
                            "inputSchema": t.inputSchema
                        } for t in tools_list
                    ]
                }

            elif method == "tools/call":
                params = data.get("params", {})
                name = params.get("name")
                args = params.get("arguments", {})

                # Call the tool
                tool_result = await mcp.call_tool(name, args)

                # --- FIX: Serialize the content objects manually ---
                serialized_content = []
                for content in tool_result:
                    if hasattr(content, "type") and content.type == "text":
                        serialized_content.append({"type": "text", "text": content.text})
                    elif hasattr(content, "type") and content.type == "image":
                         serialized_content.append({
                             "type": "image",
                             "data": content.data,
                             "mimeType": content.mimeType
                         })
                    else:
                        # Fallback for dictionaries or other types
                        serialized_content.append(content if isinstance(content, dict) else str(content))

                result = {
                    "content": serialized_content,
                    "isError": False
                }

            elif method == "ping":
                result = {}

            else:
                return JSONResponse(
                    {"jsonrpc": "2.0", "id": msg_id, "error": {"code": -32601, "message": "Method not found"}},
                    status_code=404
                )

            return JSONResponse({"jsonrpc": "2.0", "id": msg_id, "result": result})

        except Exception as e:
            # Print error to logs for debugging
            import traceback
            traceback.print_exc()
            return JSONResponse(
                {"jsonrpc": "2.0", "id": None, "error": {"code": -32603, "message": str(e)}},
                status_code=500
            )

    app = Starlette(routes=[
        Route("/mcp", handle_mcp, methods=["POST"]),
        Route("/", lambda r: JSONResponse({"status": "ok"}), methods=["GET"])
    ])

    if __name__ == "__main__":
        print("Starting Fixed Math Server on port 8000...")
        uvicorn.run(app, host="0.0.0.0", port=8000)
---
apiVersion: apps/v1
kind: Deployment
metadata:
  name: mcp-math-server
  namespace: default
spec:
  replicas: 1
  selector:
    matchLabels:
      app: mcp-math-server
  template:
    metadata:
      labels:
        app: mcp-math-server
    spec:
      containers:
      - name: math
        image: python:3.11-slim
        command: ["/bin/sh", "-c"]
        args:
        - |
          pip install "mcp[cli]" uvicorn starlette &&
          python /app/server.py
        ports:
        - containerPort: 8000
        volumeMounts:
        - name: script-volume
          mountPath: /app
        readinessProbe:
          httpGet:
            path: /
            port: 8000
          initialDelaySeconds: 5
          periodSeconds: 5
      volumes:
      - name: script-volume
        configMap:
          name: mcp-math-script
---
apiVersion: v1
kind: Service
metadata:
  name: mcp-math-server
  namespace: default
spec:
  selector:
    app: mcp-math-server
  ports:
  - port: 80
    targetPort: 8000
EOF- Create a Gateway so your MCP Server can be reached on it's own host.
kubectl apply -f - <<EOF
apiVersion: gateway.networking.k8s.io/v1
kind: Gateway
metadata:
  name: mcp-gateway
  namespace: agentgateway-system
  labels:
    app: mcp-math-server
spec:
  gatewayClassName: agentgateway
  listeners:
    - name: mcp
      port: 3000
      protocol: HTTP
      allowedRoutes:
        namespaces:
          from: Same
EOF- An MCP Agentgateway Backend will ensure that the Gateway knows what to route to.
kubectl apply -f - <<EOF
apiVersion: agentgateway.dev/v1alpha1
kind: AgentgatewayBackend
metadata:
  name: demo-mcp-server
  namespace: agentgateway-system
spec:
  mcp:
    targets:
      - name: demo-mcp-server
        static:
          host: mcp-math-server.default.svc.cluster.local
          port: 80
          path: /mcp
          protocol: StreamableHTTP
EOF- The last step is to create an HTTP route so there is a proper path configured to reach your MCP server.
kubectl apply -f - <<EOF
apiVersion: gateway.networking.k8s.io/v1
kind: HTTPRoute
metadata:
  name: mcp-route
  namespace: agentgateway-system
  labels:
    app: mcp-math-server
spec:
  parentRefs:
    - name: mcp-gateway
  rules:
    - backendRefs:
      - name: demo-mcp-server
        namespace: agentgateway-system
        group: agentgateway.dev
        kind: AgentgatewayBackend
EOF- Retrieve the IP address of the ALB that your Gateway is running on. If you're on a local Kubernetes cluster and don't have access to a public IP or hostname, you can just use
localhostinstead after port forwarding the Gateway k8s service.
export GATEWAY_IP=$(kubectl get svc mcp-gateway -n agentgateway-system -o jsonpath='{.status.loadBalancer.ingress[0].ip}')
echo $GATEWAY_IP
Security Controls
With the MCP Server configured, you can now implement security controls to ensure proper access to it.
- Create an agentgateway policy that allows you to pass in a key for JWT authentication.
kubectl apply -f- <<EOF
apiVersion: enterpriseagentgateway.solo.io/v1alpha1
kind: EnterpriseAgentgatewayPolicy
metadata:
  name: jwt
  namespace: agentgateway-system
spec:
  targetRefs:
    - group: gateway.networking.k8s.io
      kind: Gateway
      name: mcp-gateway
  traffic:
    jwtAuthentication:
      providers:
        - issuer: solo.io
          jwks:
            inline: '{"keys": [{"kty": "RSA", "kid": "solo-public-key-001", "use": "sig", "alg": "RS256", "n": "vdV2XxH70WcgDKedYXNQ3Dy1LN8LKziw3pxBe0M-QG3_urCbN-oTPL2e0xrj5t2JOV-eBNaII17oZ6z9q84lLzn4mgU_UzP-Efv6iTZLlC_SD30AknifnoX8k38zbJtuwkvVcZvkam0LM5oIwSf4wJVpdPKHb3o_gGRpCBxWdQHPdBWMBPwOeqFfONFrM0bEnShFWf3d87EgckdVcrypelLyUZJ_ACdEGYUhS6FHmyojA1g6zKryAAWsH5Y-UCUuJd7VlOCMoBpAKK0BSdlF3WVSYHDlyMSB5H61eYCXSpfKcGhoHxViLgq6yjUR7TOHkJ-OtWna513TrkRw2Y0hsQ", "e": "AQAB"}]}'
EOF- Open MCP Inspector and under Authorization, add the following:
- Header Name: Authorization
- Bearer Token:
eyJhbGciOiJSUzI1NiIsImtpZCI6InNvbG8tcHVibGljLWtleS0wMDEiLCJ0eXAiOiJKV1QifQ.eyJpc3MiOiJzb2xvLmlvIiwib3JnIjoic29sby5pbyIsInN1YiI6ImJvYiIsInRlYW0iOiJvcHMiLCJleHAiOjIwNzQyNzQ5NTQsImxsbXMiOnsibWlzdHJhbGFpIjpbIm1pc3RyYWwtbGFyZ2UtbGF0ZXN0Il19fQ.AZF6QKJJbnayVvP4bWVr7geYp6sdfSP-OZVyWAA4RuyjHMELE-K-z1lzddLt03i-kG7A3RrCuuF80NeYnI_Cm6pWtwJoFGbLfGoE0WXsBi50-0wLnpjAb2DVIez55njP9NVv3kHbVu1J8_ZO6ttuW6QOZU7AKWE1-vymcDVsNkpFyPBFXV7b-RIHFZpHqgp7udhD6BRBjshhrzA4752qovb-M-GRDrVO9tJhDXEmhStKkV1WLMJkH43xPSf1uNR1M10gMMzjFZgVB-kg6a1MRzElccpRum729c5rRGzd-_C4DsGm4oqBjg-bqXNNtUwNCIlmfRI5yeAsbeayVcnTIg
You will now be able to connect to the MCP Server with the bearer token, but without it, the connection will fail with a 401.
Implementing OIDC-Based oAuth
Let's kick things up a notch with a particular use case. You want to access a remote MCP Server, like Gitlab or GitHub Copilot, but you need to ensure that you're routing through a proper AI Gateway so you can do things like OIDC-based oAuth and eventually, prompt guards, guardrails, and various other security implementations. This will implement MCP oAuth 2.1 authorization code + PKCE flow.
- The following configuration implements a Gateway, HTTPRoute, and Agentgatewaybackend, much like the previous section, but the key difference is that with this config, the Backend is a remote MCP Server. This gives you a securable and observable way to see and secure traffic to remote MCP Servers.
kubectl apply -f - <<EOF
apiVersion: gateway.networking.k8s.io/v1
kind: Gateway
metadata:
name: agentgateway-proxy
namespace: agentgateway-system
spec:
gatewayClassName: enterprise-agentgateway
listeners:
- name: http
port: 8080
protocol: HTTP
allowedRoutes:
namespaces:
from: Same
---
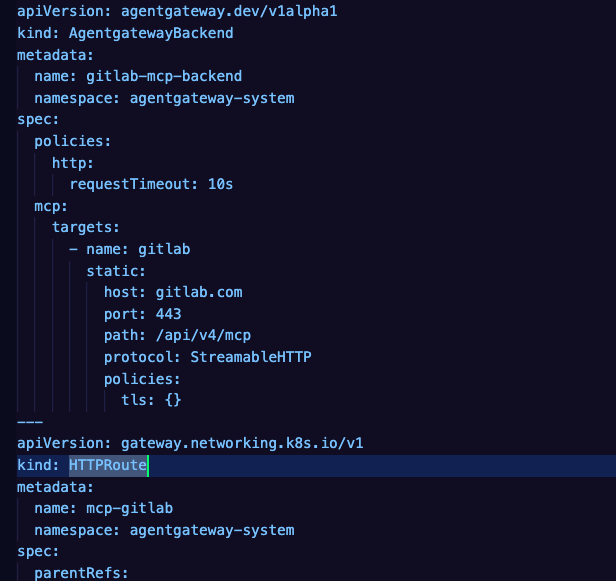
apiVersion: agentgateway.dev/v1alpha1
kind: AgentgatewayBackend
metadata:
name: gitlab-mcp-backend
namespace: agentgateway-system
spec:
policies:
http:
requestTimeout: 10s
mcp:
targets:
- name: gitlab
static:
host: gitlab.com
port: 443
path: /api/v4/mcp
protocol: StreamableHTTP
policies:
tls: {}
---
apiVersion: gateway.networking.k8s.io/v1
kind: HTTPRoute
metadata:
name: mcp-gitlab
namespace: agentgateway-system
spec:
parentRefs:
- name: agentgateway-proxy
namespace: agentgateway-system
rules:
- matches:
- path:
type: PathPrefix
value: /mcp-gitlab
backendRefs:
- name: gitlab-mcp-backend
group: agentgateway.dev
kind: AgentgatewayBackend
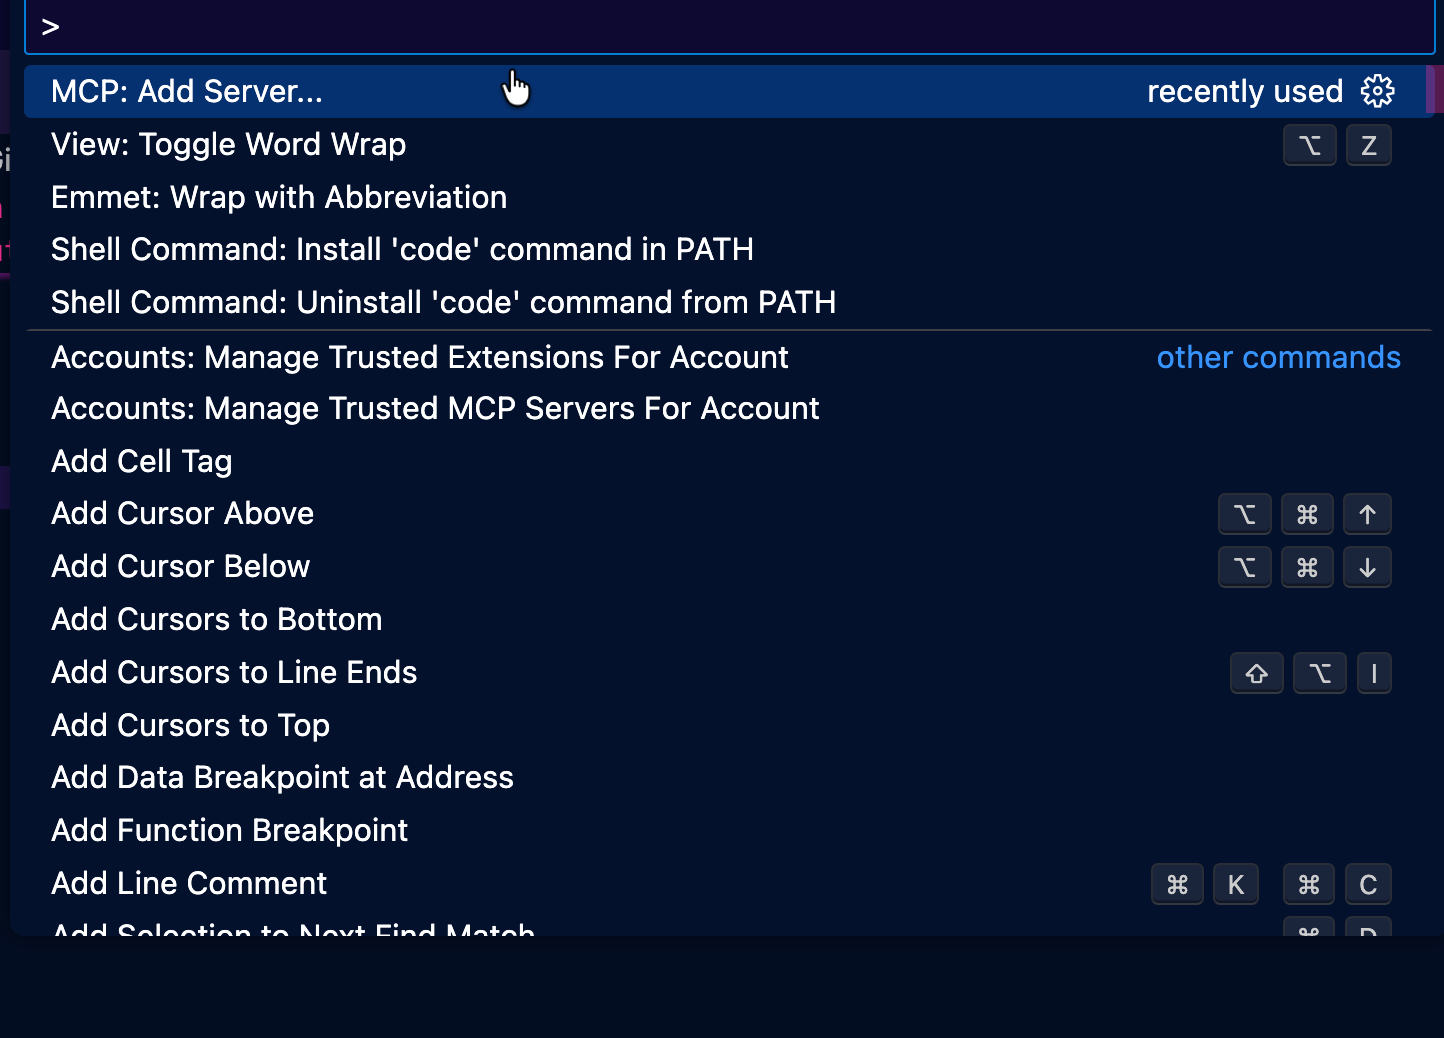
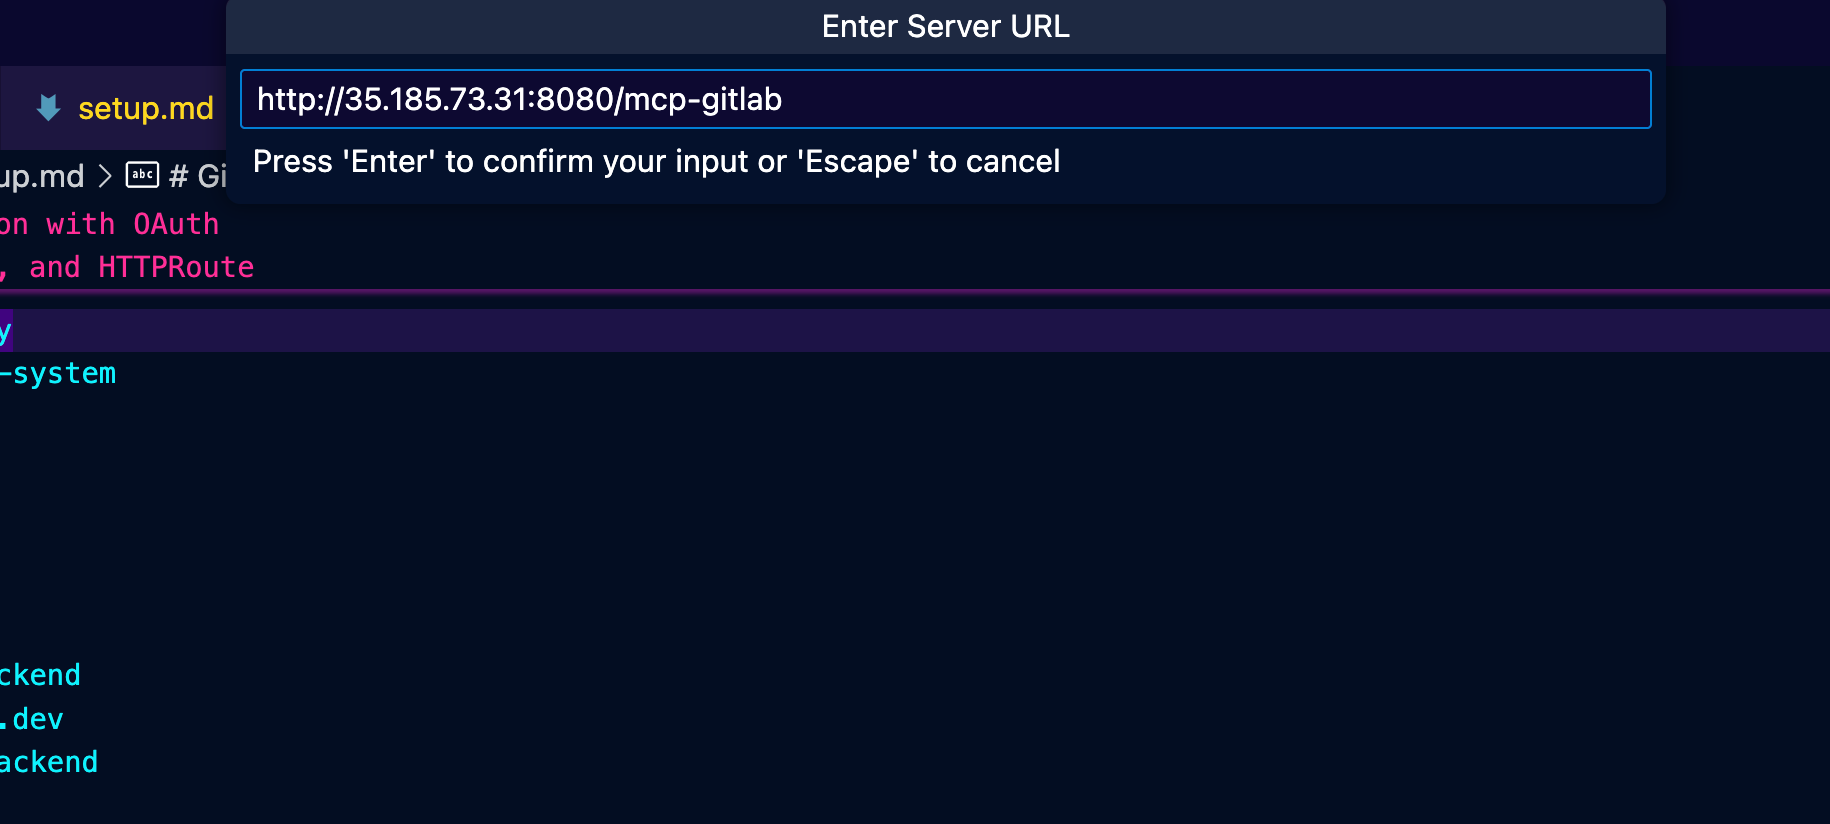
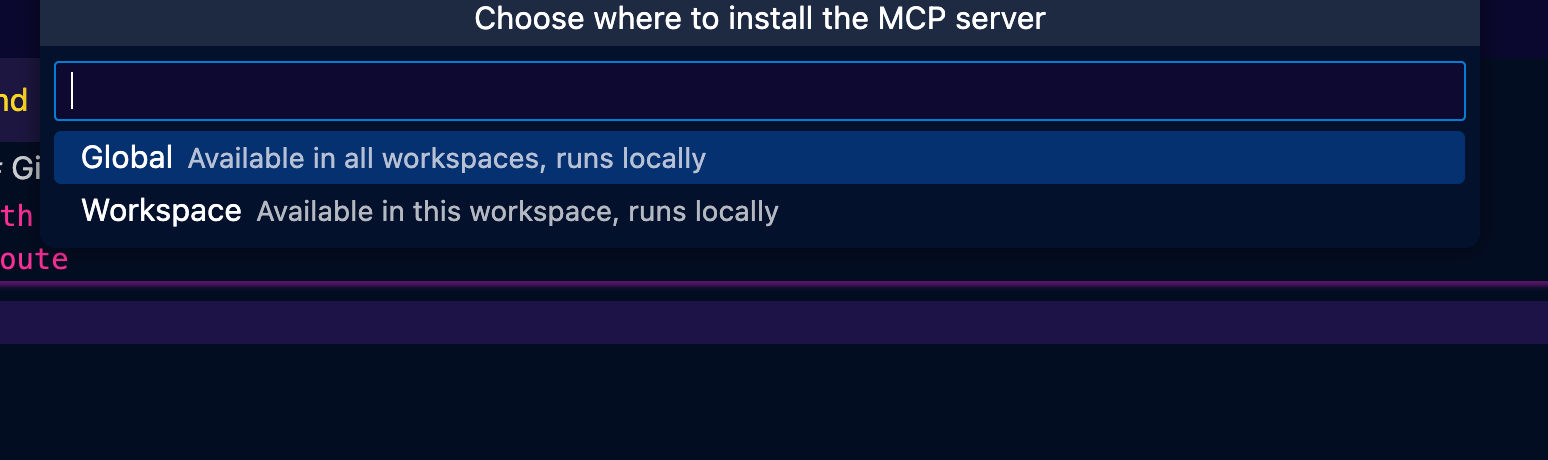
EOF- Within VS Code, type COMMAND + SHIFT + P and you'll see a search bar pop up. Type in MCP.
- Type in your Gateway IP with HTTP infront of it, the port, and the path.
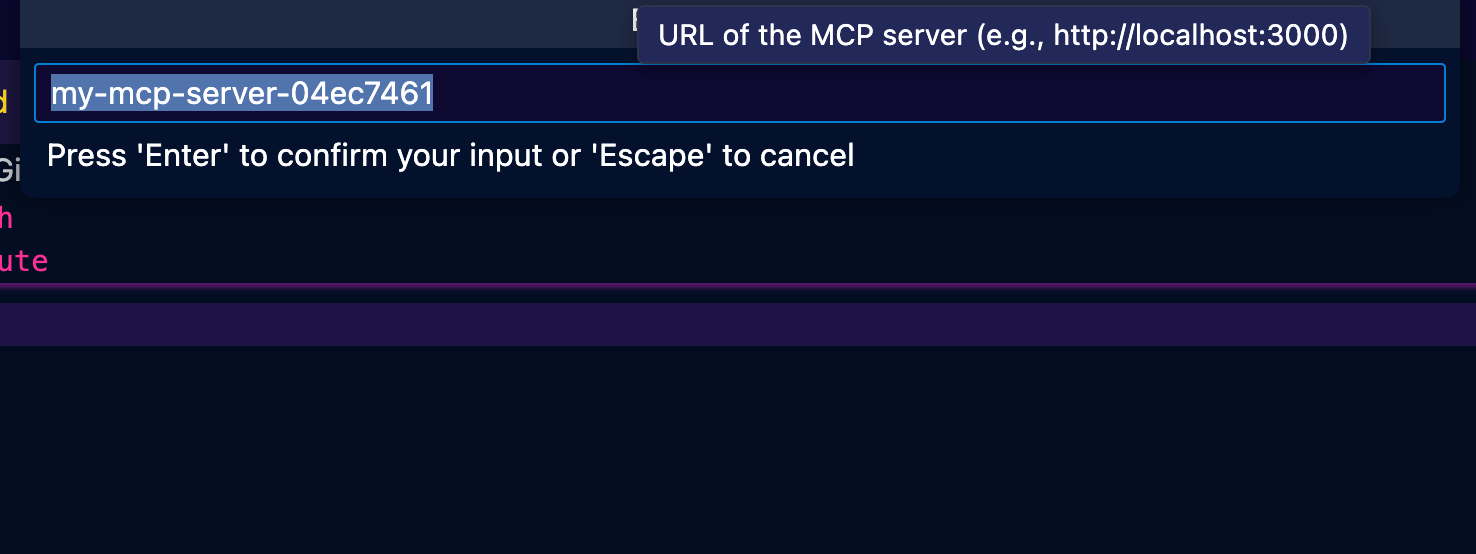
- The session ID can be anything, so feel free to leave the default.
- Global or local work depending on the level of access you need.
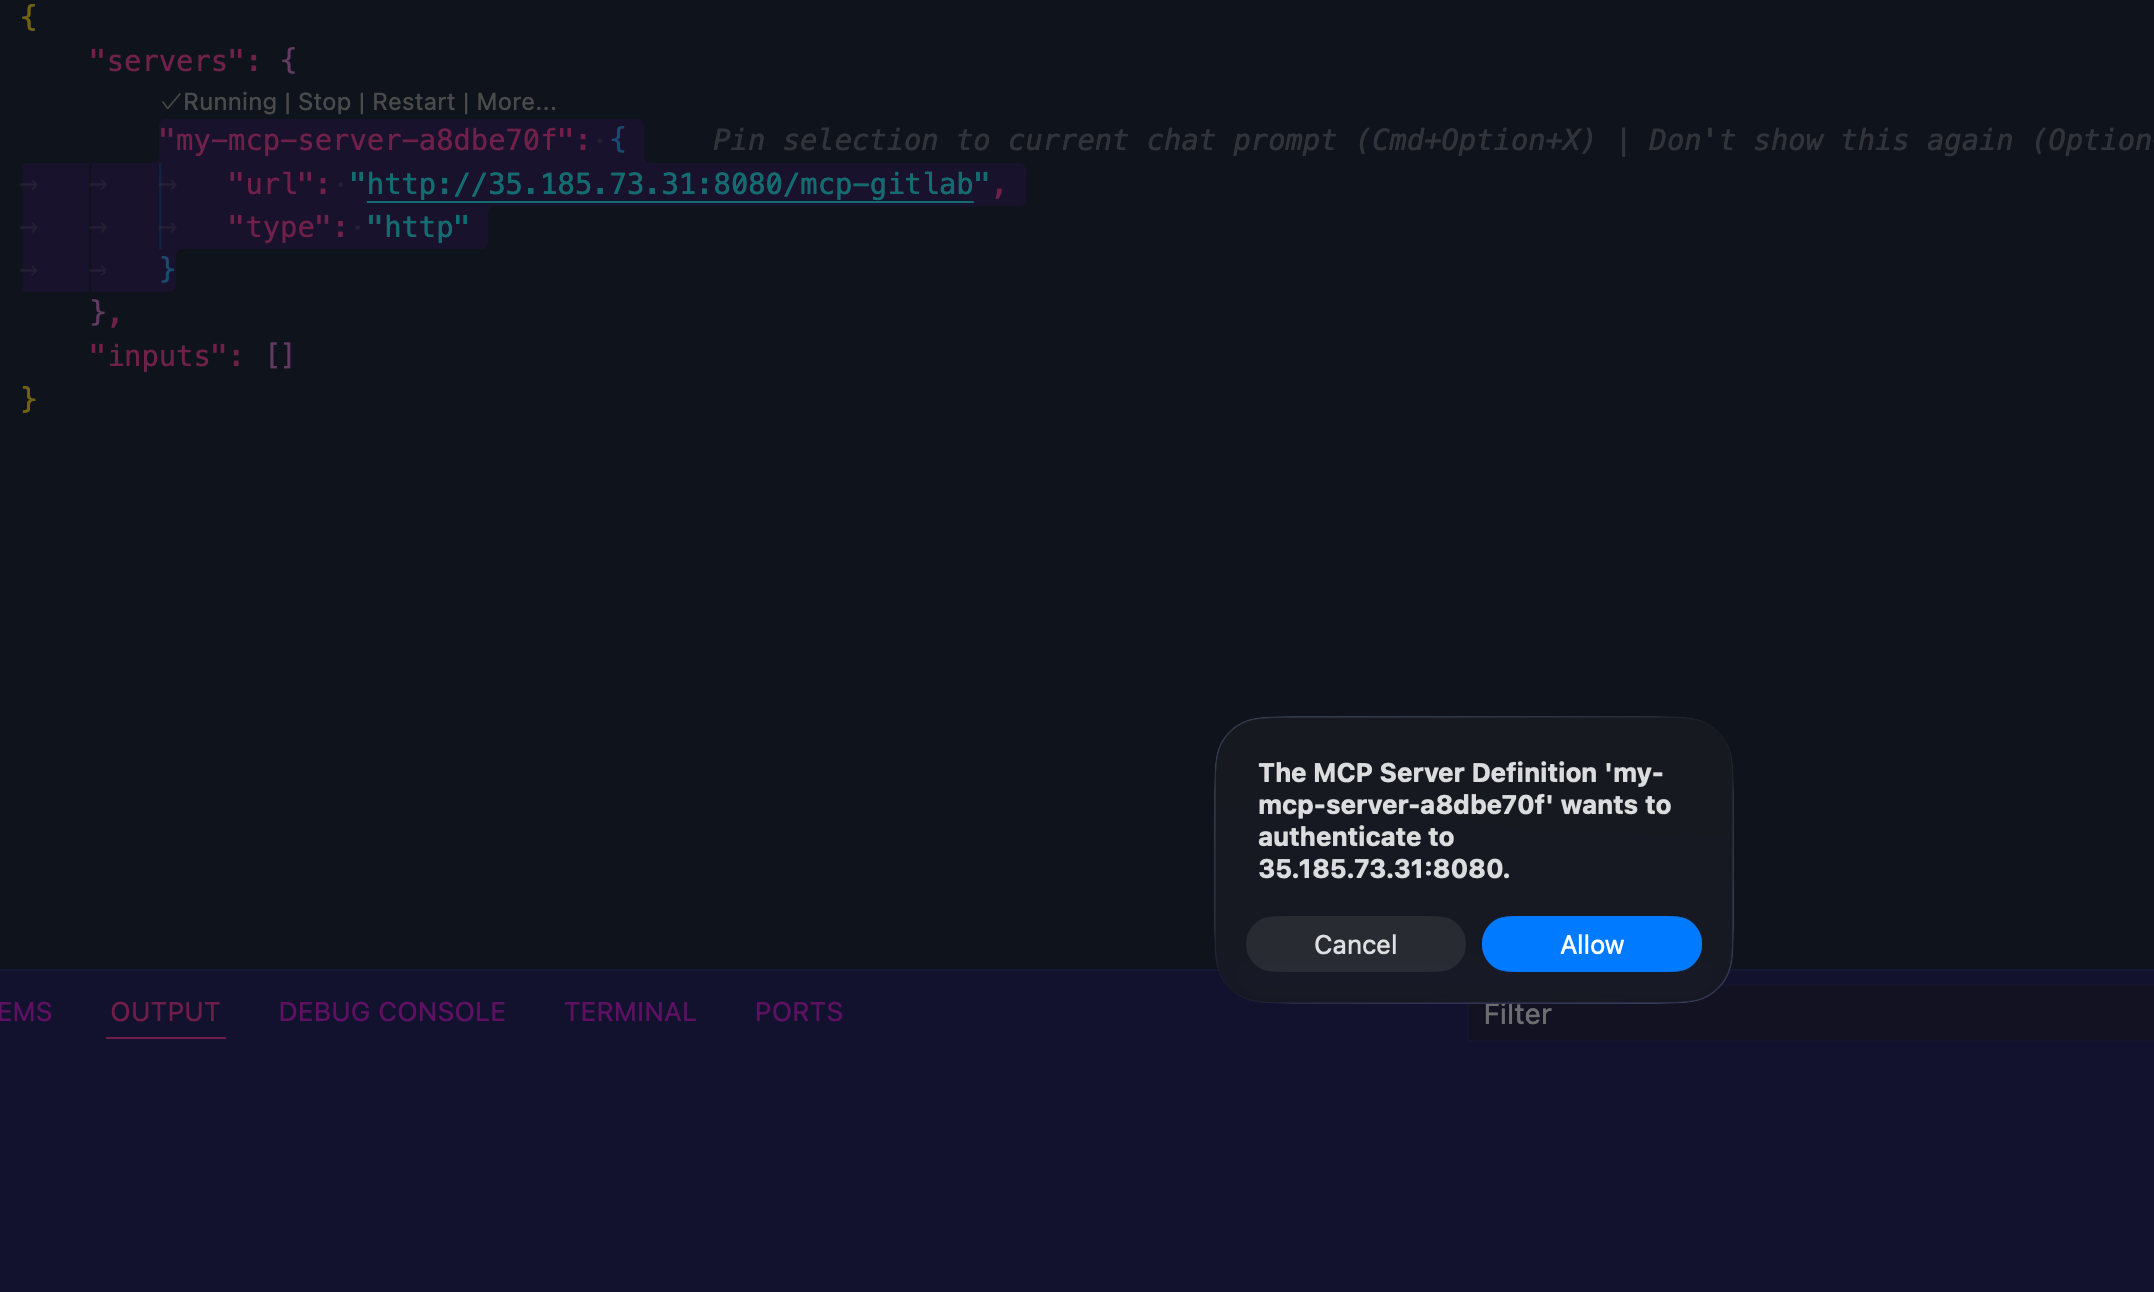
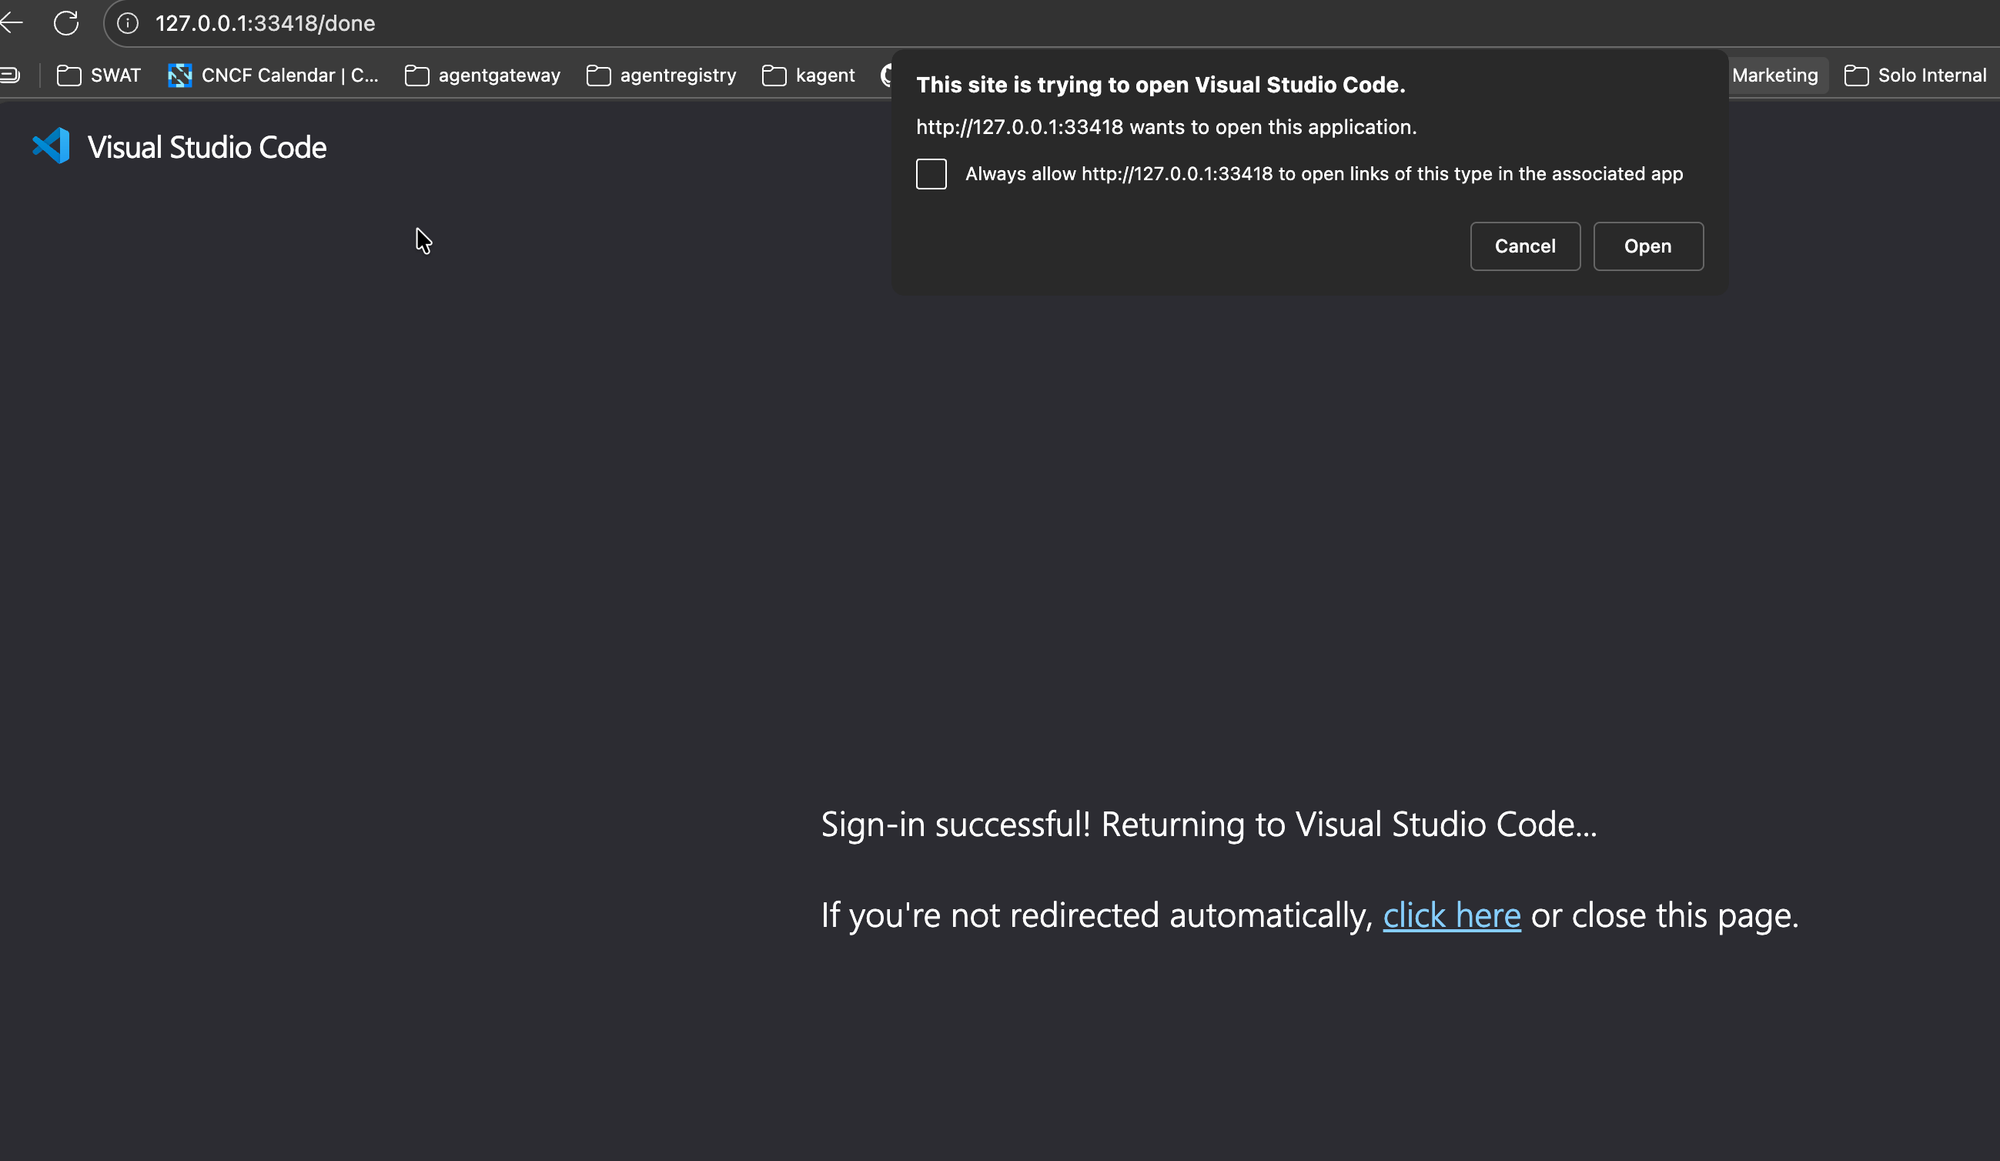
- You'll now see the OIDC-based oAuth popups.
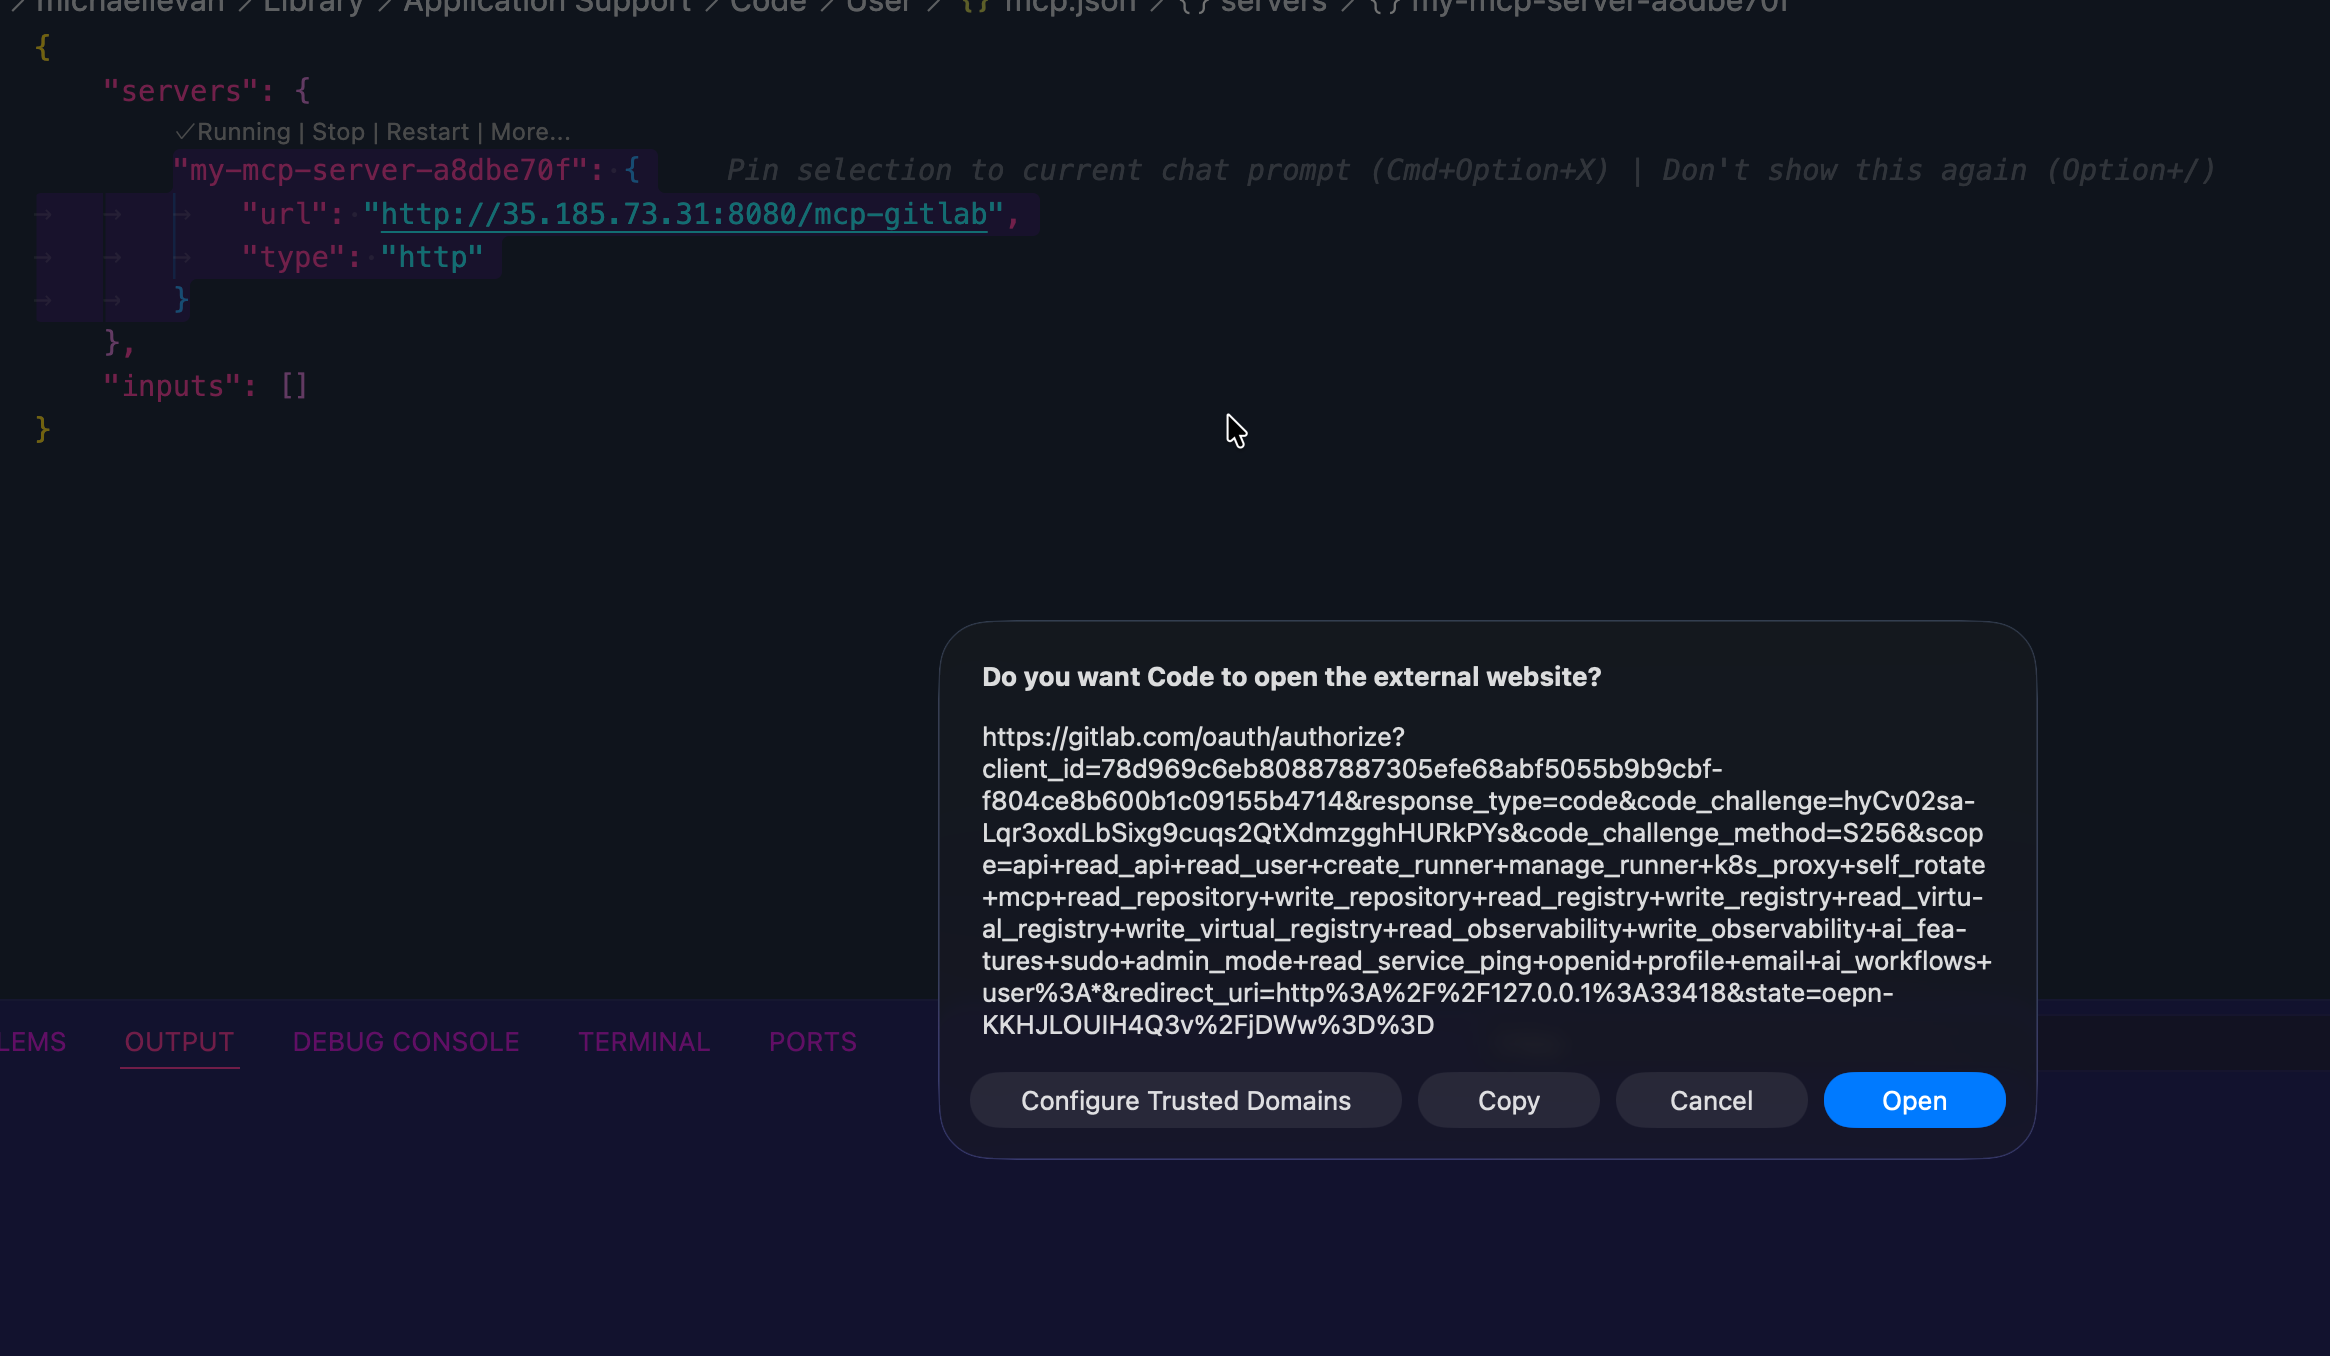
- Authenticate to Gitlab.
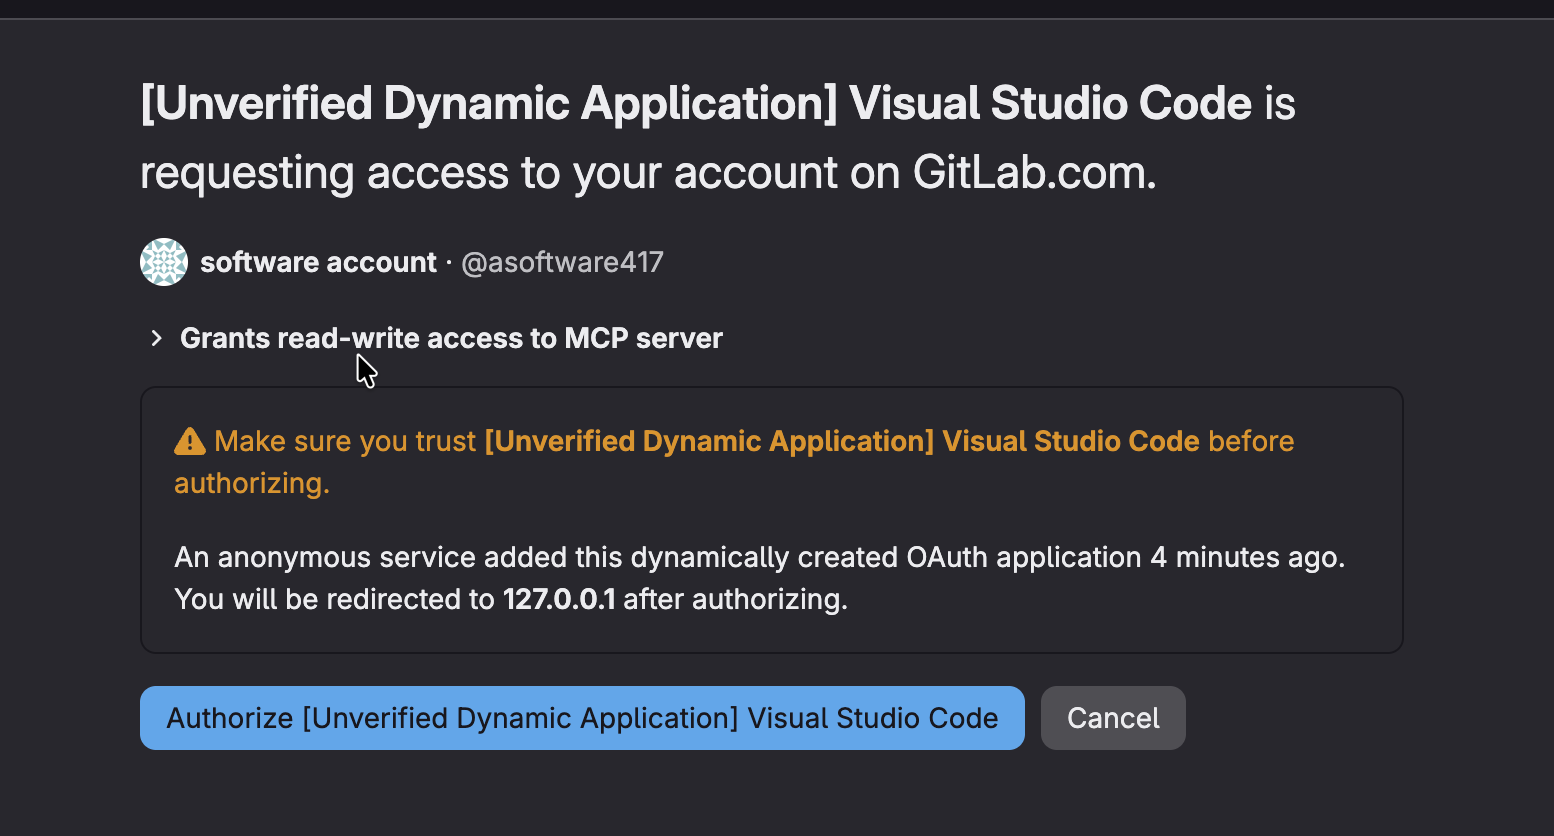
- You'll now see a successful authentication flow.
Congrats! You've successfully implemented a few different methods for authentication via oAuth.

Comments ()