Agent-to-Agent (A2A) and agentgateway For A Custom Agent Integration
As AI Agents begin to increase in usage, knowledge, and understanding of specific tasks, there may be a time when a task is too great for one Agent's knowledge. When that happens, an Agent needs to reach out to it's friends (other Agents) for collaboration to get to the end result, much like what humans do when working with each other.
That's where A2A comes into play.
In this blog post, you'll learn about what A2A is, how to deploy an Agent locally, and connect to it using agentgateway.
Prerequisites
To follow along with this blog post in a hands-on fashion, you should have:
- Python installed (preferably 3.11 or above).
- An Anthropic API key. Everything you see here in this blog post can 100% be done with other LLM providers like OpenAI or Gemini. You'll just need to change up the Model that's used (which you'll see in the Python code). You'll want to store your Anthropic API key as an environment variable:
export ANTHROPIC_API_KEY=
What Is A2A
When the what you may call "new generation AI" (because AI has been around for years) came out (think ChatGPT), everyone was using it in a way of a chatbot. Then, Agents came out, which can not only give you information, but go do a specific action for you (like write a Kubernetes Manifest and run it in your Kubernetes cluster). Now, what the industry is seeing is multiple Agents, which means a major question comes up - which Agent is best? Or rather, which Agent is trained in a way to have the information that you need for a specific task. The truth is that none of them may have the exact tribal knowledge you need, and that's why having Agents collaborate with each other is key. That's where A2A comes into play.
Agent-to-agent is the method for Agents to talk to each other, collaborate, and share information when performing a complex task. For example, there might be an Agent that's really good at quantum physics, but there may be some tasks in what you're trying to accomplish that require quantum mechanics knowledge. These two Agents can talk to and collaborate with each other to accomplish the task in the most comprehensive and accurate way.
Setup and File Configs
Before getting started with the hands-on implementation, it's important to understand the file and overall directory structure for how it works when creating custom Agents, running those Agents on a server, and connecting to them.
The agent.py file is the Agent itself along with its functionality. In this Agents case (the one you'll be creating), it's going to connect to Claude and use the Kubernetes MCP Server.
The __main__.py, which you'll see in the pyagent directory, is the server that gets exposed for A2A and calls out to the agent.py root handler function for the Agents functionality. It's also creating the agent card to advertise tools within the Agent. Agent cards are how Agents running on servers advertise its capabilities/tools and connection information. They are what clients use for discovery and to establish a connection.
The config.yaml is the agentgateway configuration that connects to the Agents server locally via the A2A protocol.
Installation & Configuration Of An Agent
So far, you've heard a lot about A2A and Agents, but how can you create one? And how can you run it so it's accessible as a server? In this section, you'll learn how using the Agent Development Kit (ADK).
- First, create a Python virtual environment. This will allow you to ensure that the libraries and configurations you need to conflict with your local host.
python3.11 -m venv .venv- Activate the environment.
source .venv/bin/activate- Install the ADK package and the litellm package. Litellm is used to integrate with LLMs.
pip install google-adk

pip install litellm- Now that you have the necessary libraries to get started, you can create a new Agent.
adk create pyagentYou'll see an output that asks for the root agent. Choose number 2 Other models so you can use an LLM outside of Gemini.
Choose a model for the root agent:
1. gemini-2.5-flash
2. Other models (fill later)
Choose model (1, 2): 2
Please see below guide to configure other models:
https://google.github.io/adk-docs/agents/models
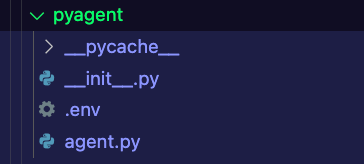
Agent created in /Users/michael/gitrepos/agentic-demo-repo/adk/getting-start-python/pyagent:
- .env
- __init__.py
- agent.pyYou'll see a directory output similar to the below:
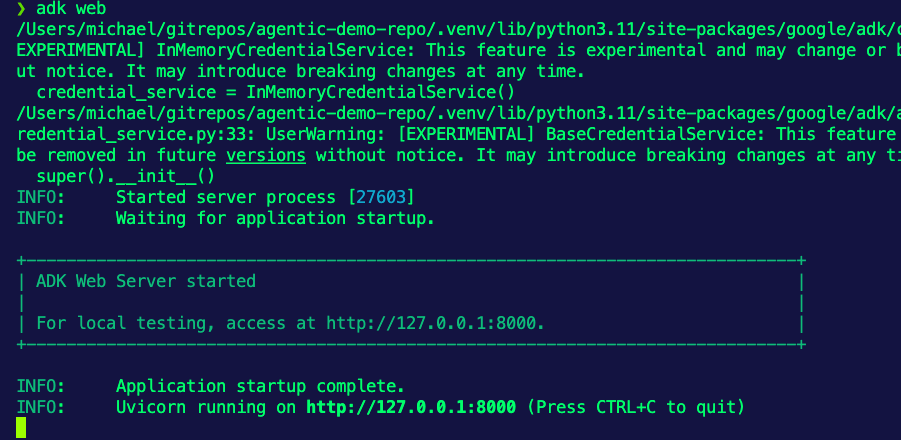
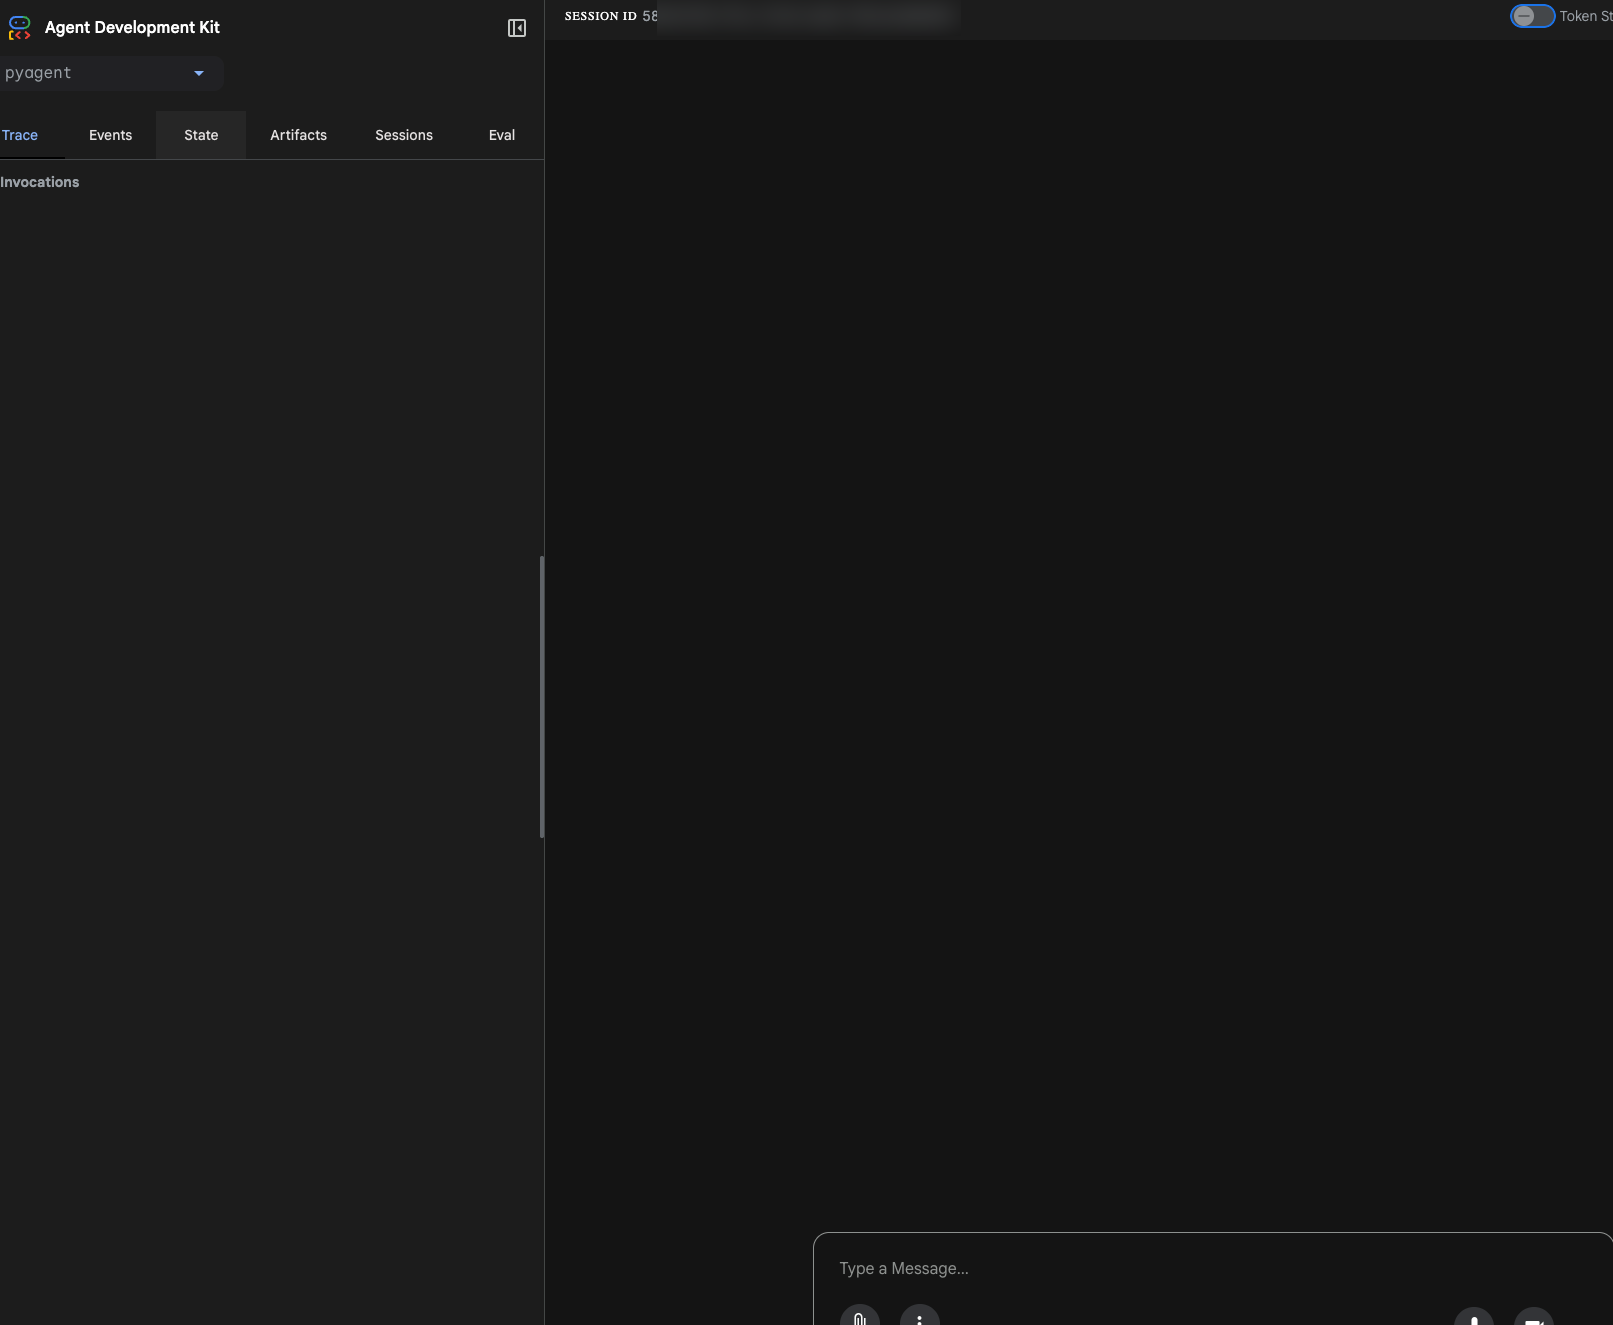
To test it out, you can run adk web and see the ADK web portal.
Customizing Your Agent
With the Agent that you created in the previous section, you'll see a pretty bare-bones Agent.
from google.adk.agents.llm_agent import Agent

root_agent = Agent(
    model='<FILL_IN_MODEL>',
    name='root_agent',
    description='A helpful assistant for user questions.',
    instruction='Answer user questions to the best of your knowledge',
)main file for the majority of programming languages) for all requests and coordinates the delegation of tasks.However, this won't get us very far, so it's time to start the customization. For the Agent that you're creating, it will:
- Use a Claude/Anthropic Model.
- Implement an MCP Server as a tool. In this case, it's going to use the Kubernetes MCP Server because this Agent is going to be a Kubernetes expert.
The root agent will look like the below and contain the Model, the instructions, and the MCP toolset.
root_agent = LlmAgent(
    model=LiteLlm('anthropic/claude-3-7-sonnet-latest'),
    name='k8sassistant',
    description='You are a Kubernetes expert',
    instruction='Answer questions about all things Kubernetes and Istio Service Mesh to the best of your ability. Use the Kubernetes tools to check pods, namespaces, events, and other cluster resources.',
    tools=[
        MCPToolset(
            connection_params=StdioConnectionParams(
                server_params=StdioServerParameters(
                    command='npx',
                    args=["-y", "@modelcontextprotocol/server-kubernetes"]
                )
            ),
            tool_filter=[
                'events_list',
                'namespaces_list',
                'pods_list',
                'pods_get',
                'pods_log',
                'resources_list',
                'resources_get'
            ]
        )
    ]
)
Putting it all together with the libraries needed, your agent.py should look like the following:
from google.adk.agents.llm_agent import Agent
from google.adk.agents import LlmAgent
from google.adk.models.lite_llm import LiteLlm
from google.adk.tools.mcp_tool.mcp_toolset import MCPToolset
from google.adk.tools.mcp_tool.mcp_session_manager import StdioConnectionParams
from mcp import StdioServerParameters

root_agent = LlmAgent(
    model=LiteLlm('anthropic/claude-3-7-sonnet-latest'),
    name='k8sassistant',
    description='You are a Kubernetes expert',
    instruction='Answer questions about all things Kubernetes and Istio Service Mesh to the best of your ability. Use the Kubernetes tools to check pods, namespaces, events, and other cluster resources.',
    tools=[
        MCPToolset(
            connection_params=StdioConnectionParams(
                server_params=StdioServerParameters(
                    command='npx',
                    args=["-y", "@modelcontextprotocol/server-kubernetes"]
                )
            ),
            tool_filter=[
                'events_list',
                'namespaces_list',
                'pods_list',
                'pods_get',
                'pods_log',
                'resources_list',
                'resources_get'
            ]
        )
    ]
)
Creating An Agent Server
As of right now, you have an Agent, but the Agent would end up running locally. There's no way for it to be connected to. That's why you need to create a server that calls out to the Agent.
Within your Agent directory, create a file called __main__.py and paste in the following configuration which contains:
- The server configuration to run locally.
- The agent card (explained in the Setup and File Configs section).
- A runner to run the Agent, which includes the executor and handler.
- An a2a app creation
import click
import uvicorn
from a2a.server.apps import A2AStarletteApplication
from a2a.server.request_handlers import DefaultRequestHandler
from a2a.server.tasks import InMemoryTaskStore
from a2a.types import AgentCapabilities, AgentCard, AgentSkill
from google.adk.a2a.executor.a2a_agent_executor import A2aAgentExecutor
from google.adk.runners import Runner
from google.adk.sessions.in_memory_session_service import InMemorySessionService
from google.adk.memory.in_memory_memory_service import InMemoryMemoryService
from google.adk.artifacts.in_memory_artifact_service import InMemoryArtifactService
from google.adk.auth.credential_service.in_memory_credential_service import InMemoryCredentialService
from .agent import root_agent
@click.command()
@click.option('--host', default='localhost', help='Host to bind the server to')
@click.option('--port', default=9999, type=int, help='Port to bind the server to')
def main(host: str, port: int):
"""Run the K8s Assistant A2A agent."""
# Define agent capabilities
capabilities = AgentCapabilities(
streaming=True,
)
# Define agent skill
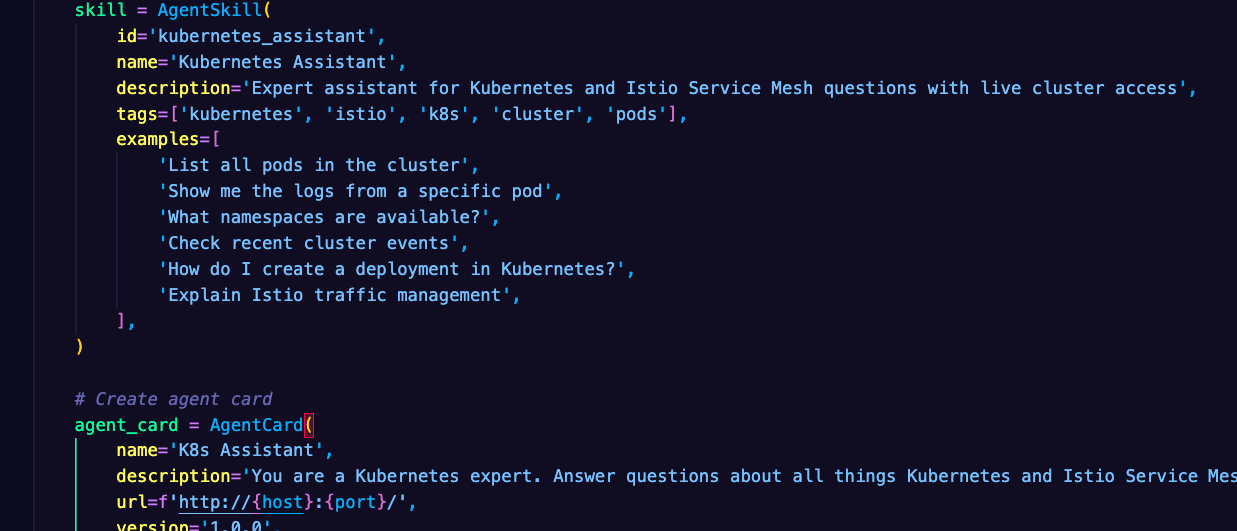
skill = AgentSkill(
id='kubernetes_assistant',
name='Kubernetes Assistant',
description='Expert assistant for Kubernetes and Istio Service Mesh questions with live cluster access',
tags=['kubernetes', 'istio', 'k8s', 'cluster', 'pods'],
examples=[
'List all pods in the cluster',
'Show me the logs from a specific pod',
'What namespaces are available?',
'Check recent cluster events',
'How do I create a deployment in Kubernetes?',
'Explain Istio traffic management',
],
)
# Create agent card
agent_card = AgentCard(
name='K8s Assistant',
description='You are a Kubernetes expert. Answer questions about all things Kubernetes and Istio Service Mesh to the best of your ability',
url=f'http://{host}:{port}/',
version='1.0.0',
default_input_modes=['text'],
default_output_modes=['text'],
capabilities=capabilities,
skills=[skill],
)
# Create runner factory
async def create_runner() -> Runner:
return Runner(
app_name='k8sassistant',
agent=root_agent,
artifact_service=InMemoryArtifactService(),
session_service=InMemorySessionService(),
memory_service=InMemoryMemoryService(),
credential_service=InMemoryCredentialService(),
)
# Create agent executor
agent_executor = A2aAgentExecutor(runner=create_runner)
# Create request handler
request_handler = DefaultRequestHandler(
agent_executor=agent_executor,
task_store=InMemoryTaskStore(),
)
# Create A2A application
server = A2AStarletteApplication(
agent_card=agent_card,
http_handler=request_handler
)
# Run the server (CORS is handled by agentgateway config.yaml)
print(f"Starting K8s Assistant A2A agent on {host}:{port}")
uvicorn.run(server.build(), host=host, port=port)
if __name__ == '__main__':
main()
Please Note: You'll definitely have to pip install the libraries for a2a, so it may make sense to create a requirements.txt file for all of the libraries needed.
Setting Up Agentgateway
Your Agent and Agent Server are now created, so it's time to configure how you'll create the a2a traffic and secure it. That's where agentgateway comes into play.
agentgateway is an AI-centric data plane that helps with securing and observing traffic betweens Agents, Agents to MCP servers, and Agents to various LLMs. It can do everything from configure rate limiting to system-level authentication to connect to various MCP servers and a ton of other great features for today's world of AI.
To install agentgateway locally for testing, it's straightforward - just install the binary.
curl https://raw.githubusercontent.com/agentgateway/agentgateway/refs/heads/main/common/scripts/get-agentgateway | bashAfter that, you should be able to run agentgateway in the terminal and see it working as expected. However, the configuration for agentgateway hasn't been set up yet.
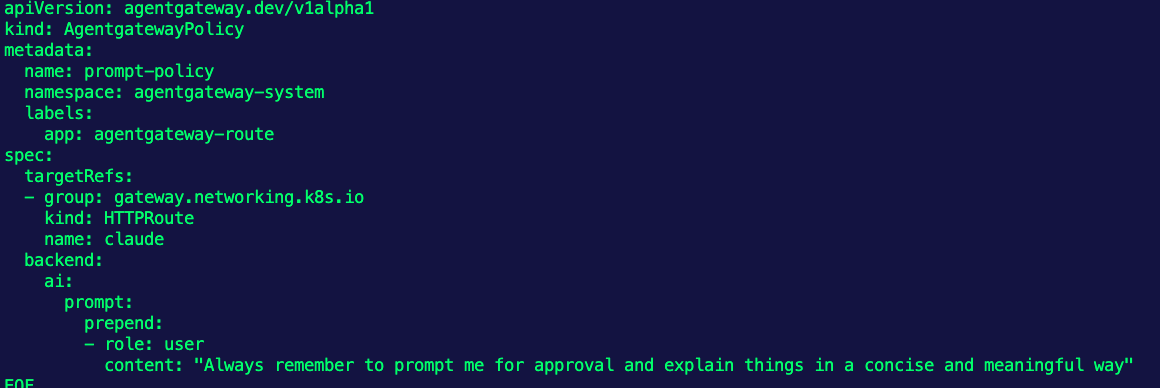
- Create a new file called
config.yamland add the following:
config:
  logging:
    #    filter: 'response.code != 500'
    fields:
      add:
        backend: backend
binds:
- port: 3000
  listeners:
  - routes:
    - policies:
        cors:
          allowOrigins:
            - "*"
          allowHeaders:
            - "*"
          allowMethods:
          - "GET"
          - "POST"
          - "OPTIONS"
          exposeHeaders:
            - "*"
          allowCredentials: false
        # Mark this route as a2a traffic
        a2a: {}
      backends:
      - host: localhost:9999
This config will be what agentgateway uses to connect to the Agents server you just created and allow it to be connected to from anywhere (notice the CORS rules. This is great for local UI testing).
Putting It All Together
Through this blog post, you have:
- Created an Agent with ADK.
- Customized the Agent.
- Created a server that calls out to your Agent.
- Created an agentgateway configuration to securely connect to your Agent Server, enabling A2A.
Now, lets deploy it and see it in action.
- Open up a terminal and run your Agent Server.
python -m pyagent --host localhost --port 9999- Open up a new terminal and run the agentgateway configuration (while the Agent Server is still running in the first terminal).
agentgateway -f config.yamlYou should see the connection occur:

- In a browser, go to the following:
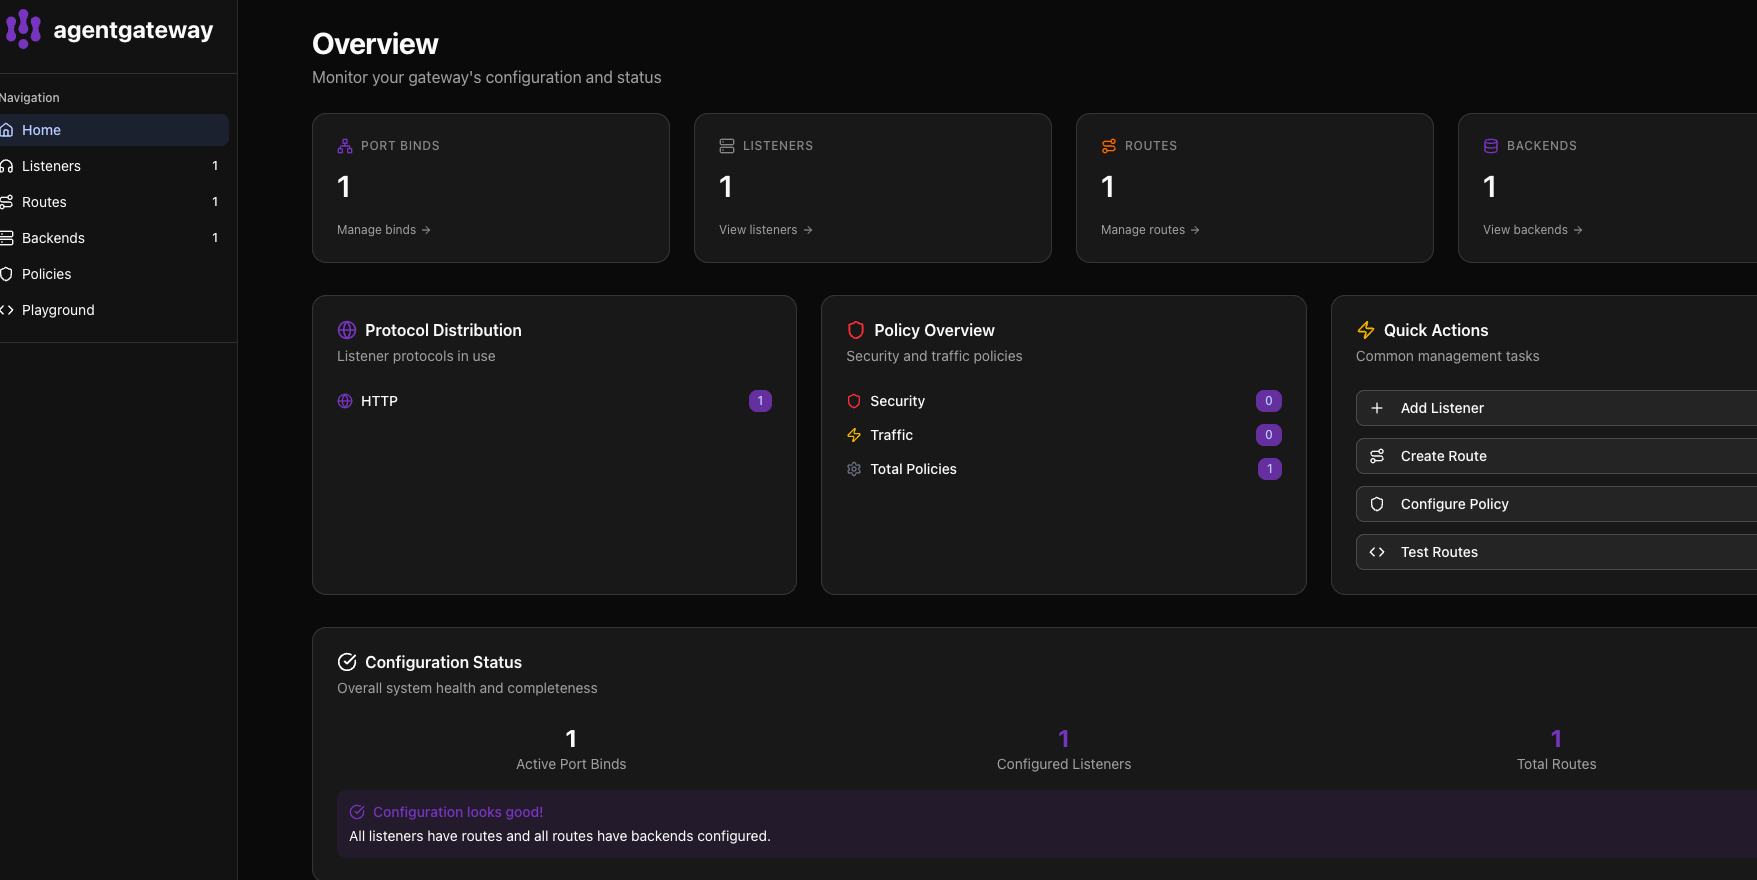
http://localhost:15000/ui
You can now see agentgateway running.
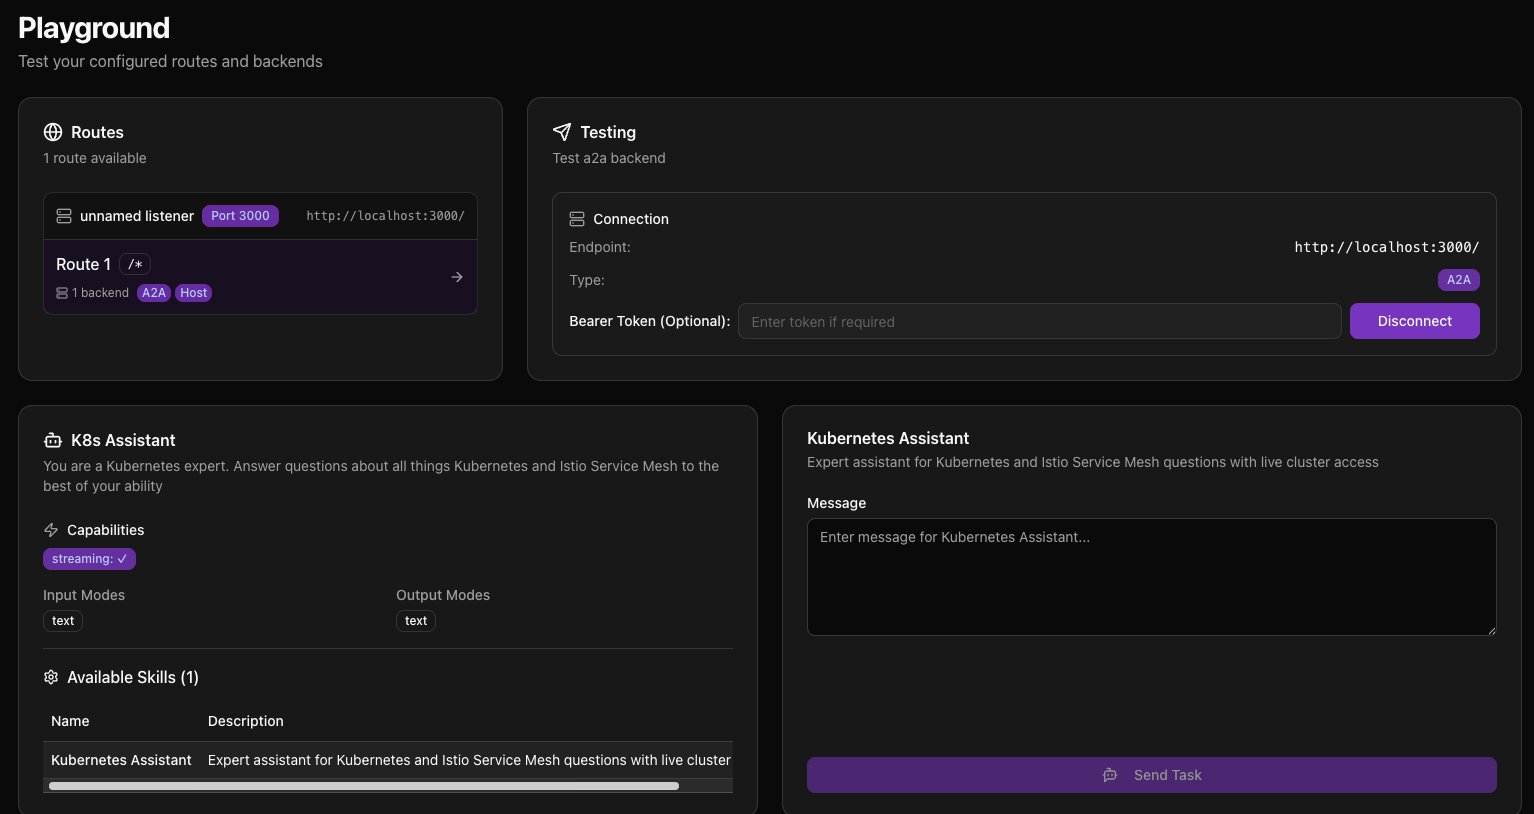
If you click on Playground and click the purpose Connect button, you'll see your agent running and the connection via the A2A protocol.
Congrats! You've successfully created a custom Agent, deployed it as an Agent Server, and connected to it via agentgateway.

Comments ()