kmcp: Your Local MCP Server Quickstart
Although MCP is a term that's less than 1 year old, it's taken the agentic world into a whole new paradigm of ensuring that the LLM you're using has the exact information and tools it needs to do the job that you need it to do.
In this blog post, you'll learn about one of the quickest methods to get an MCP Server up and running with the open-source project kmcp.
Requirements
To follow along with this blog post from a hands-on perspective, you should have the following:
- A Kubernetes cluster. You can use any managed cluster, on-prem cluster, or a local cluster with Kind or Minikube.
- A Docker Hub account (it's free) if you want to push the image (you'll learn more about the "why" behind that throughout this blog post).
If you don't have a Kubernetes cluster, that's okay! You can still follow along from a theoretical perspective and implement kmcp at a later time.
Why kmcp
When you're creating MCP Servers and connections to MCP Servers, it goes something like the following:
- Write an MCP Server with a library you're comfortable with. You'll see a lot done in Python or JS, but there are several SDKs in various languages available.
- Create a client to connect to the MCP Server
For example, let's say you want to connect to the AWS EKS MCP Server or you want to create your very own. You can first look and see if one exists. In the AWS Labs GitHub repo, you can see that an AWS EKS MCP Server already exists: https://github.com/awslabs/mcp/tree/main/src/eks-mcp-server/awslabs/eks_mcp_server
Take a look at the code base and notice how it's decoupled into various files that contain different forms of functionality. As an example, you can see that the functionality to list resources within a Kubernetes cluster using the AWS EKS MCP Server can be found here: https://github.com/awslabs/mcp/blob/ef1c2887aefce55b7e78dd0eb558f16511e818ea/src/eks-mcp-server/awslabs/eks_mcp_server/k8s_apis.py#L224
Once you create an MCP Server, you then have to write a client (think client/server architecture) to connect to it, use the tools available, and get results back based on what you want to find out or what you want to do within the cluster.
Here's an example of a client written in Python that connects to an MCP Server.
import asyncio
from mcp import ClientSession, StdioServerParameters
from mcp.client.stdio import stdio_client
import json

async def main():
    server_params = StdioServerParameters(
        command="uvx",
        args=["awslabs.eks-mcp-server", "--allow-write"],
        env={
            "AWS_PROFILE": "default",
            "AWS_REGION": "us-east-1",
            "FASTMCP_LOG_LEVEL": "INFO"
        }
    )

    # Connect to EKS MCP server
    async with stdio_client(server_params) as (read, write):
        async with ClientSession(read, write) as session:
            await session.initialize()

            result = await session.call_tool("list_k8s_resources", arguments={
                'cluster_name': 'k8squickstart-cluster',
                'kind': 'Pod',
                'api_version': 'v1',
            })

            for c in result.content:
                data = json.loads(c.text)
                print(json.dumps(data, indent=2))

if __name__ == "__main__":
    asyncio.run(main())
Although the above isn't out of the ordinary (client/server programmatic configurations have been written for years), the question you have to ask yourself as a Platform Engineering, DevOps Engineer, or any other engineer that manages Kubernetes environments is "Do I want to do this for every MCP Server I want to use and/or create?".
Typically, engineers in the cloud-native space want:
- A declarative way to create objects/resources.
- An easy way to deploy it.
- A CLI that works well and is comfortable to use.
- Templates to help you get up and running faster in a way that you're used to (like how Helm has templates readily available when you create a new Chart).
Enter kmcp.
kmcp is a way to create MCP Servers for local development or to deploy to a Kubernetes environment. Utilizing objects via the kmcp CRDs like MCPServer, you can declaratively manage your MCP Servers within the orchestration layer (Kubernetes) that you're already used to. Because it's deployed within Kubernetes, you can manage your MCP Servers like any other workload.
Installation & Build
Now that you know a bit about the "why" behind MCP and kmcp, let's dive into the installation and configuration.
- Install the
kmcpCLI.
curl -fsSL https://raw.githubusercontent.com/kagent-dev/kmcp/refs/heads/main/scripts/get-kmcp.sh | bash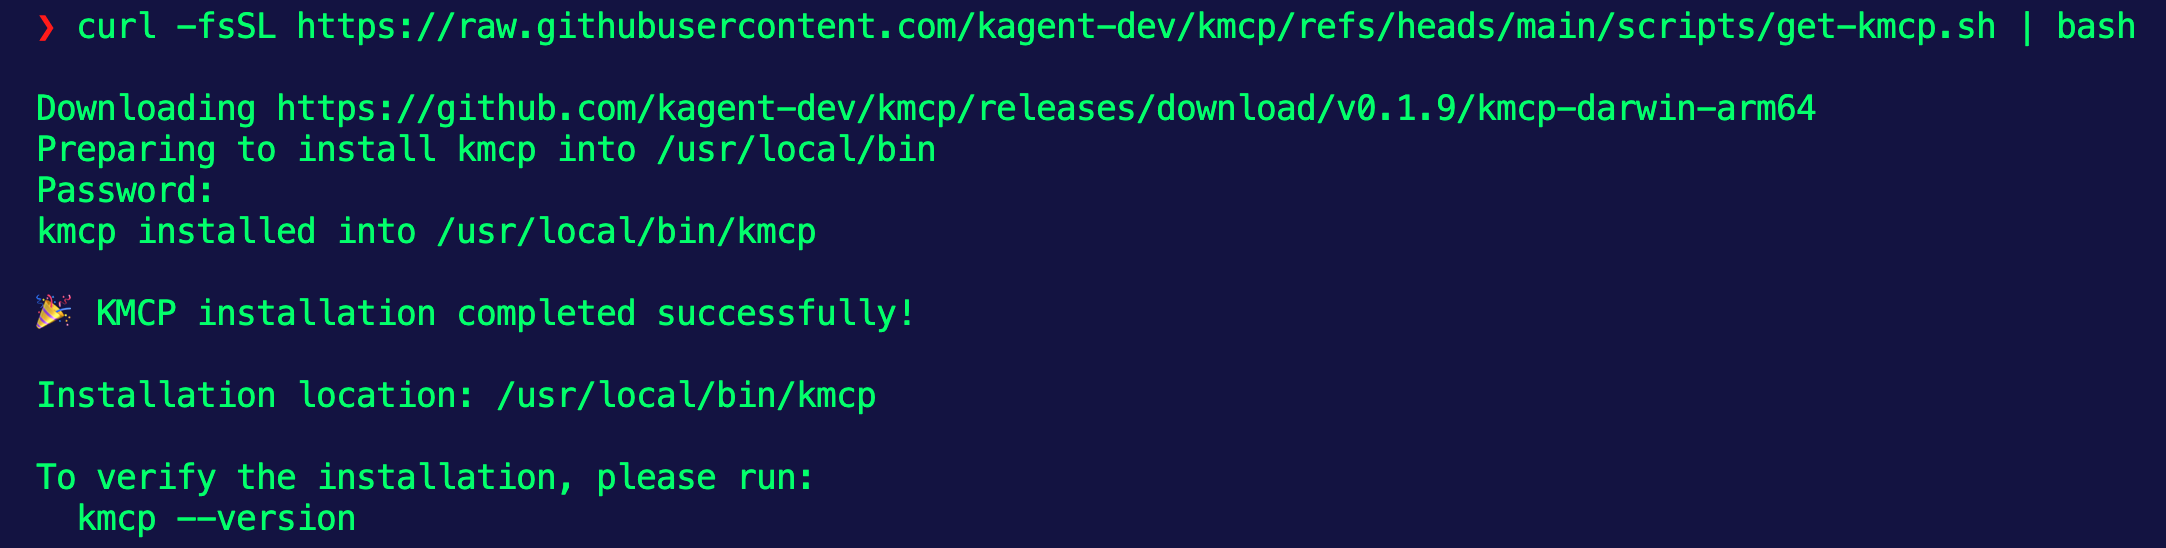
- Use the
initcommand within thekmcpCLI to initialize a new MCP Server folder/template structure.
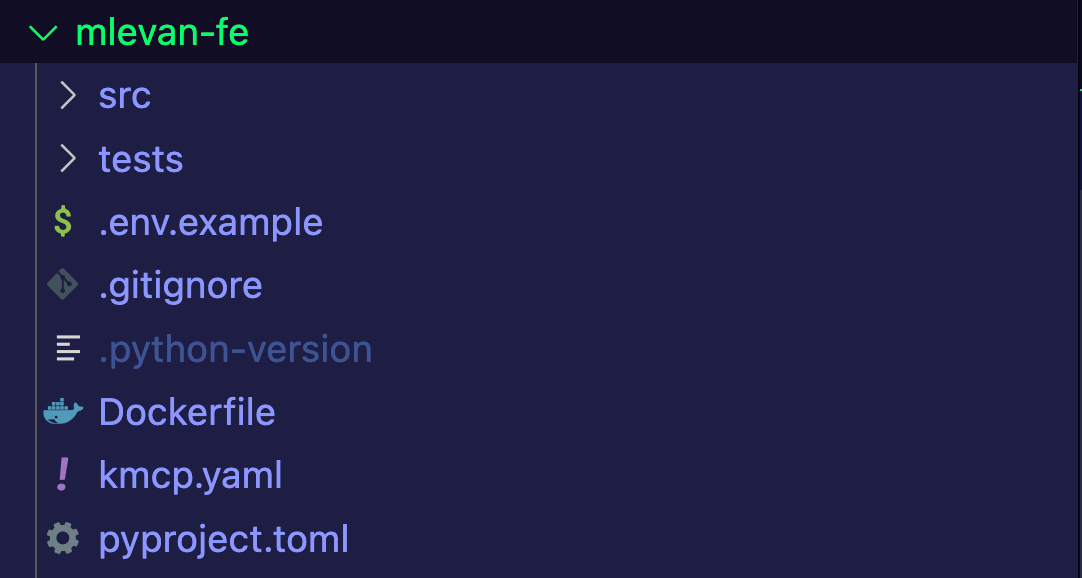
kmcp init python mlevan-fe
Within the structure, you'll see several files including a Dockerfile and several Python files. You'll learn more about what all of those are in the MCP Codebase Section.
- The next step is to turn your MCP Server into a container image so you can run it on Kubernetes. To do that, you can use the
buildcommand withinkmcp.
kmcp build --project-dir mlevan-fe -t pythontesting:latest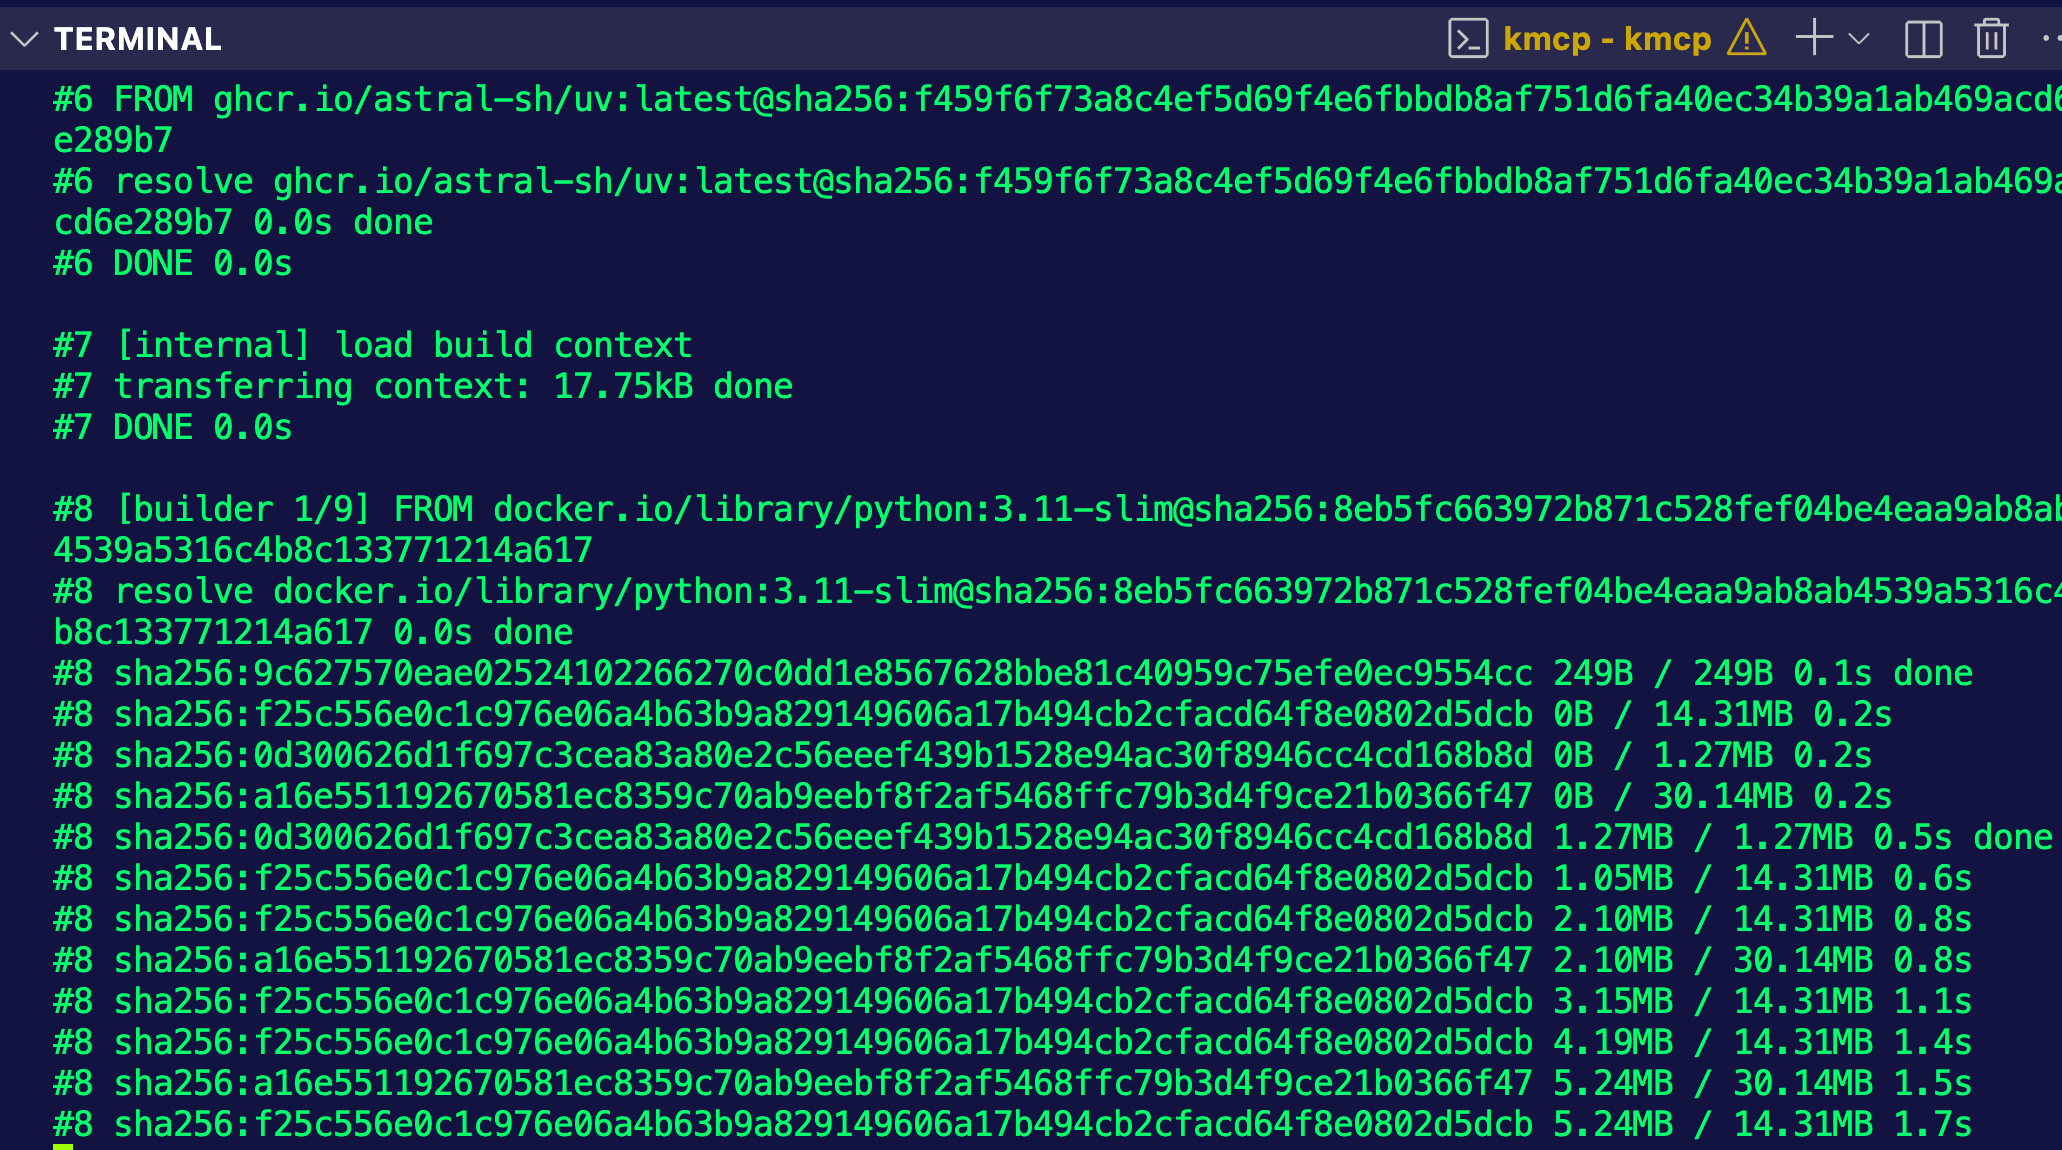
You should now be able to see your container image.

if you are deploying the container image to a managed cluster and not something locally, you'll want to ensure that you tag and push the image to a container registry like Docker Hub.
If you haven't pushed a Docker image to Docker Hub, you can learn how to do so here.
Deployment On Kubernetes
With the container image built, you can now run the necassary CRDs on a Kubernetes cluster so you can use the MCP Server APIs/objects to manage your MCP Server declaratively.
- Install the kmcp CRDs
helm install kmcp-crds oci://ghcr.io/kagent-dev/kmcp/helm/kmcp-crds \
  --namespace kmcp-system \
--create-namespace- Install the kmcp Controller components which include The MCP Server CRD, ClusterRole and ClusterRoleBinding to control RBAC permissions for the kmcp controller, and the kmcp controller deployment for managing the lifecycle of
MCPServerobjects.
kmcp install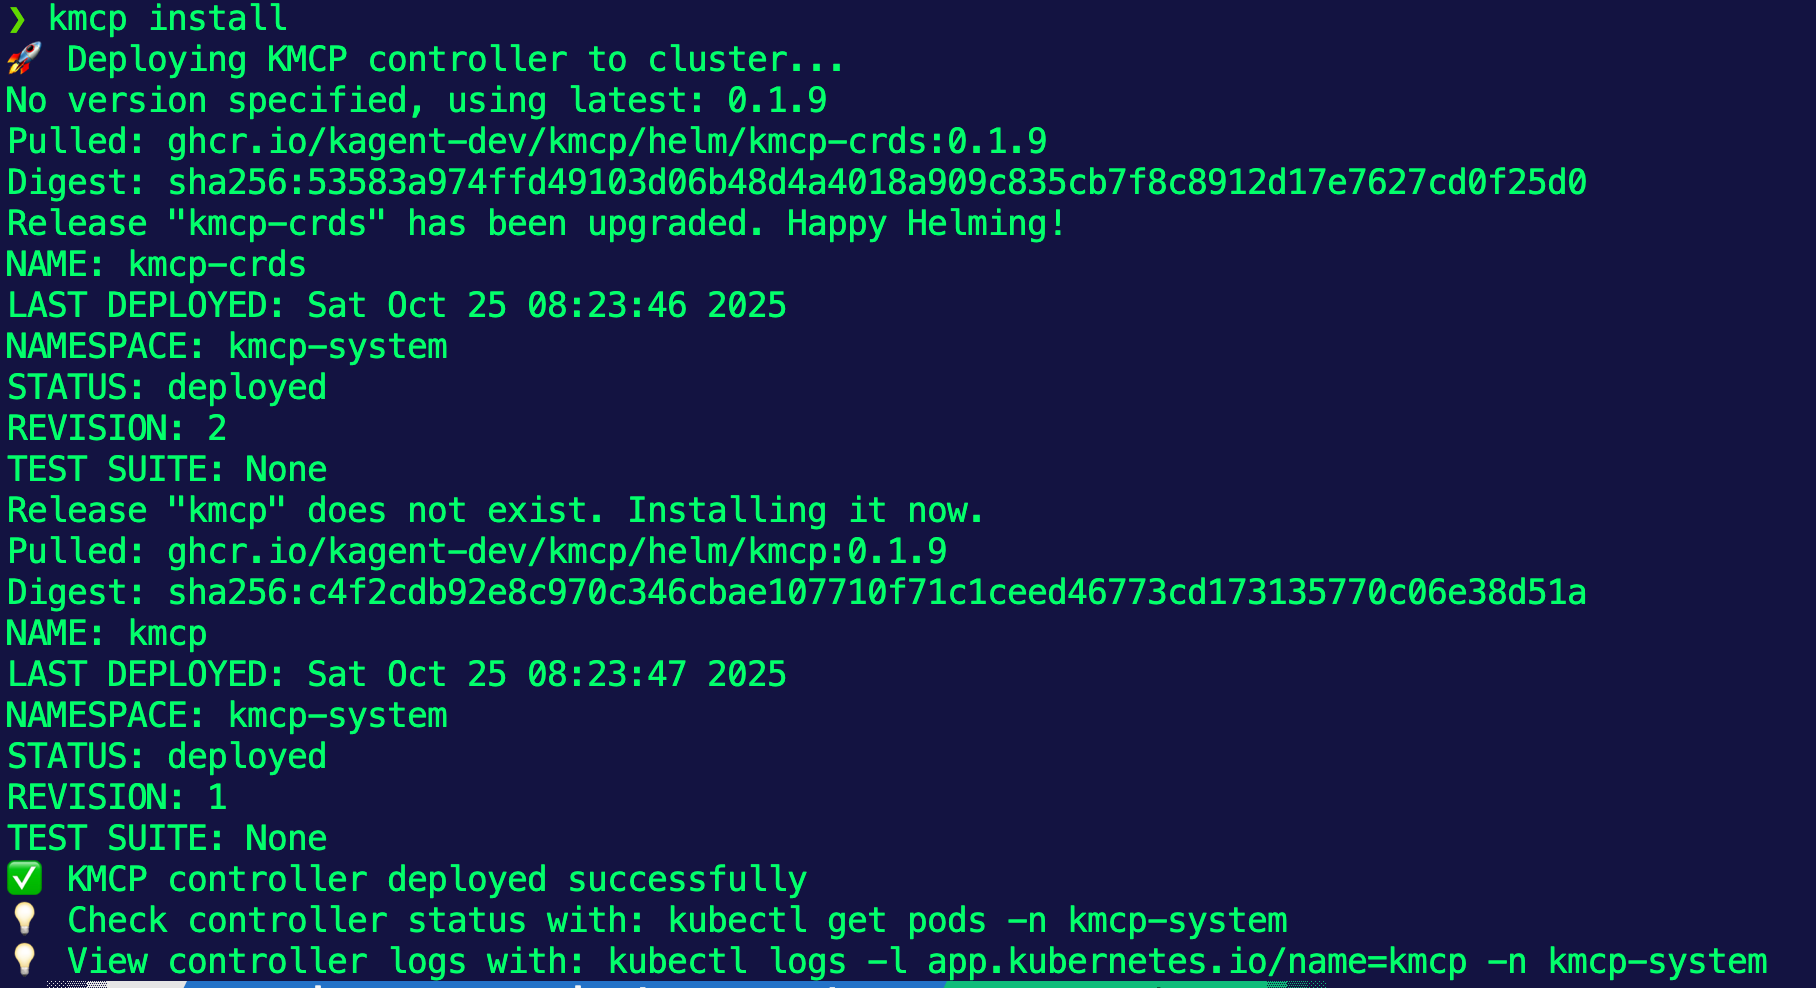
- You can confirm that the Controller is running by checkig the Pods in the
kmcp-systemNamespace.
kubectl get pods -n kmcp-system- The final step is to deploy your MCP Server!
kubectl apply -f- <<EOF
apiVersion: kagent.dev/v1alpha1
kind: MCPServer
metadata:
  name: mlevan-fe
spec:
  deployment:
    image: adminturneddevops/pythontesting:latest
    port: 3000
    cmd: "python"
    args: ["src/main.py"]
  transportType: "stdio"
EOF
After a few seconds, you'll see that the mcp server is now running.
kubectl get mcpserver
NAME        READY   AGE
mlevan-fe   True    35s
And you can confirm that by running kubectl get pods.
NAME                         READY   STATUS    RESTARTS   AGE
mlevan-fe-77d64996dc-t745g   1/1     Running   0          19s
Congrats! You've officially installed, configured, and deployed an MCP Server to run on Kubernetes.
MCP Codebase
If you're wondering "what's underneath the hood" and what gets created, this section is for you!
When you run the init command, a folder/directory structure gets created that contains a Dockerfile, a Python project file (think of it like a description file), tests, and the source.
The source contains two folders:
- The
coredirectory (which contains the content of the MCP Server itself). - The
toolsdirectory (which contains the tools readily available within the MCP Server).
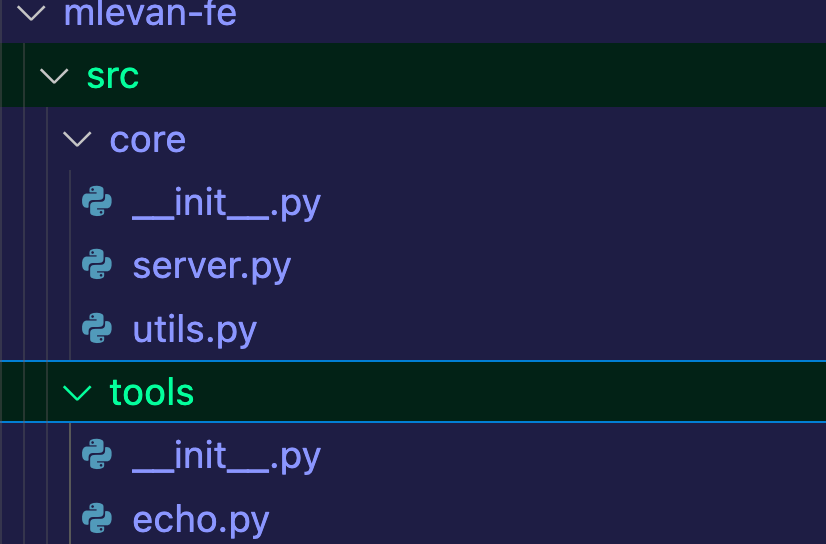
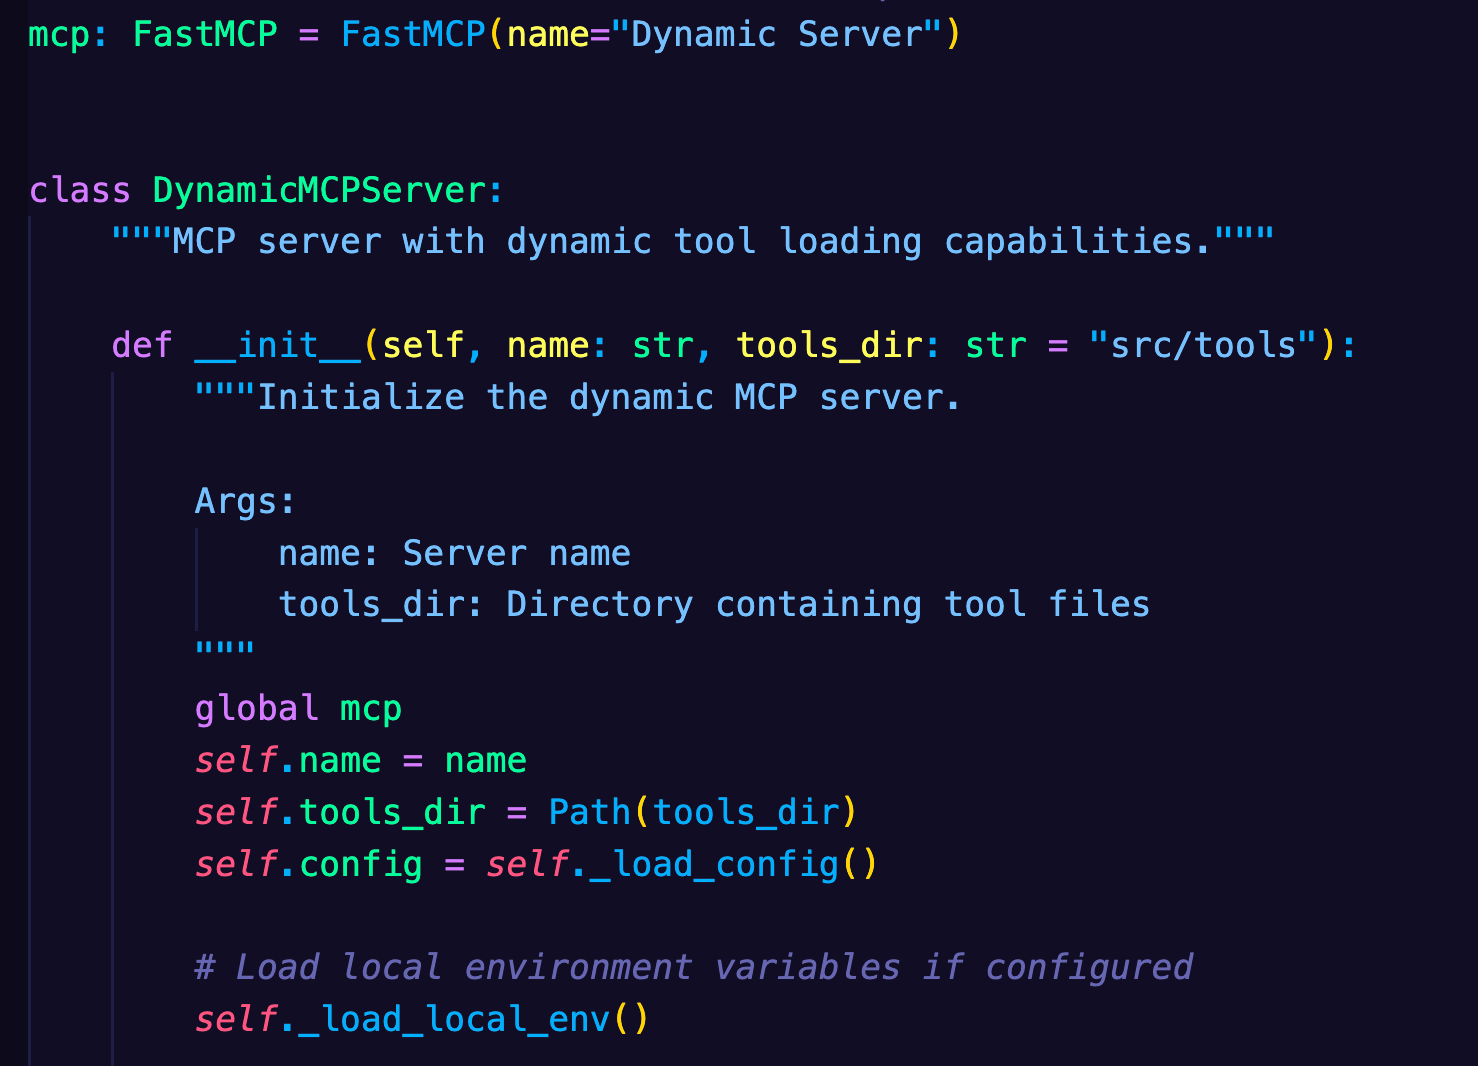
It also contains the main.py which is the entrypoint file to run your MCP Server.
If you open up the echo.py, which is one of the tools readily available within the MCP Server, you can see that it's a quick function that echos back a message that you send via the client. Notice how there's a mcp.tool() decorator so you don't have to implement all of the logic to create an MCP Tool.
"""Example echo tool for mlevan-fe MCP server.

This is an example tool showing the basic structure for FastMCP tools.
Each tool file should contain a function decorated with @mcp.tool().
"""

from core.server import mcp
from core.utils import get_tool_config


@mcp.tool()
def echo(message: str) -> str:
    """Echo a message back to the client.

    Args:
        message: The message to echo

    Returns:
        The echoed message with any configured prefix
    """
    # Get tool-specific configuration
    config = get_tool_config("echo")
    prefix = config.get("prefix", "")

    # Return the message with optional prefix
    return f"{prefix}{message}" if prefix else message
Conclusion
Thinking about how to use MCP Servers in an AI-driven world is incredibly crucial to ensure that the LLMs engineers and teams decide to use have the most up to date and accurate information they need to do a job properly. Taking that a step further, understanding how to run them in a declarative world with kubernetes ensures that teams can effectively use said MCP Servers.

Comments ()