Running Any AI Agent on Kubernetes: Step-by-Step

There are many Agentic creation frameworks ranging from CrewAI to kagent to langchain and several others which are typically written in Python or JS. If you're an engineer working on Kubernetes, you may be thinking "What about a declarative Agent deployment method?"
In this blog post, you'll see how to create your own Agent in an Agent framework and then deploy it to kagent in a declarative fashion.
Prerequisites
To follow along with this blog post, you should have the following:
- A Kubernetes cluster deployed with kagent installed. If you've never installed kagent, you can find the how-to here.
- Python3.10 or above installed.
- Docker desktop (or just the Docker engine) installed to build the container image.
What Are BYO Agents
BYO (Bring Your Own) means you can create an Agent in any of the supported providers from kagent. You can also create your agent fully along with connect it to MCP sercers in kagent, but if you're already used to writing your Agents in Python using CrewAI, ADK, langchain, or any other framework, kagent gives you the ability to import those Agents. The only thing you need to do is containerize the Agent, which is straightforward with a Dockerfile (you'll see an example in the section on creating Agents).
Building An Agent
With the previous section giving you knowledge around BYO Agents, it's time to start creating an Agent and see it run within Kubernetes. The next two sections will walk you through how to build a custom Agent with Agent Development Kit (ADK), which is an Agent creation framework and use an existing Agent to see the process of getting one that's readily available for Kubernetes deployed.
Creating An Agent
- Install the Google ADK library. Depending on where you're running the below, you may need to use
pip3instead ofpip.
pip install google-adk- With the
adkcommand, use thecreatesubcommand to create a scaffolding for an ADK Agent in Python.
adk create NAME_OF_YOUR_AGENTYou should see an output similar to the one below (with the name of your Agent).
- You can
cdinto the directory and use therunsubcommand to see it in action as with the scaffolding, you'll have an Agent template.
cd adk/NAME_OF_YOUR_AGENT && adk run NAME_OF_YOUR_AGENTUsing An Existing Agent
To make life a bit easier, instead of having to go and build out everything that is needed for the Agent to be containerized, you can use one that was already built and tested (by myself). If you're wondering "Well, why did I build an Agent then?" it's because with that Agent, you'll be able to containerize it and run it yourself after seeing the example in this section as you can use it as a reference.
- Clone the
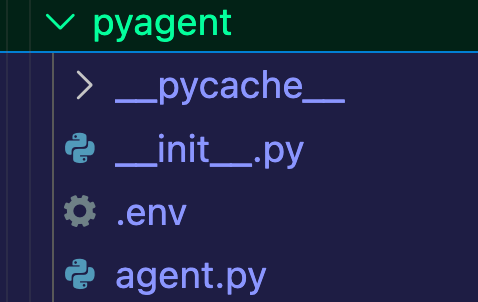
agentic-demo-coderepo andcdinto theadk/troubleshoot-agentdirectory. - Open the
Dockerfileand you should see the file contents below.
### STAGE 1: base image
ARG DOCKER_REGISTRY=ghcr.io
ARG VERSION=0.7.4
FROM $DOCKER_REGISTRY/kagent-dev/kagent/kagent-adk:$VERSION

WORKDIR /app

COPY troubleshootagent/ troubleshootagent/
COPY pyproject.toml pyproject.toml
COPY uv.lock uv.lock
COPY how-it-works.md how-it-works.md

RUN uv sync --locked --refresh

CMD ["troubleshootagent"]
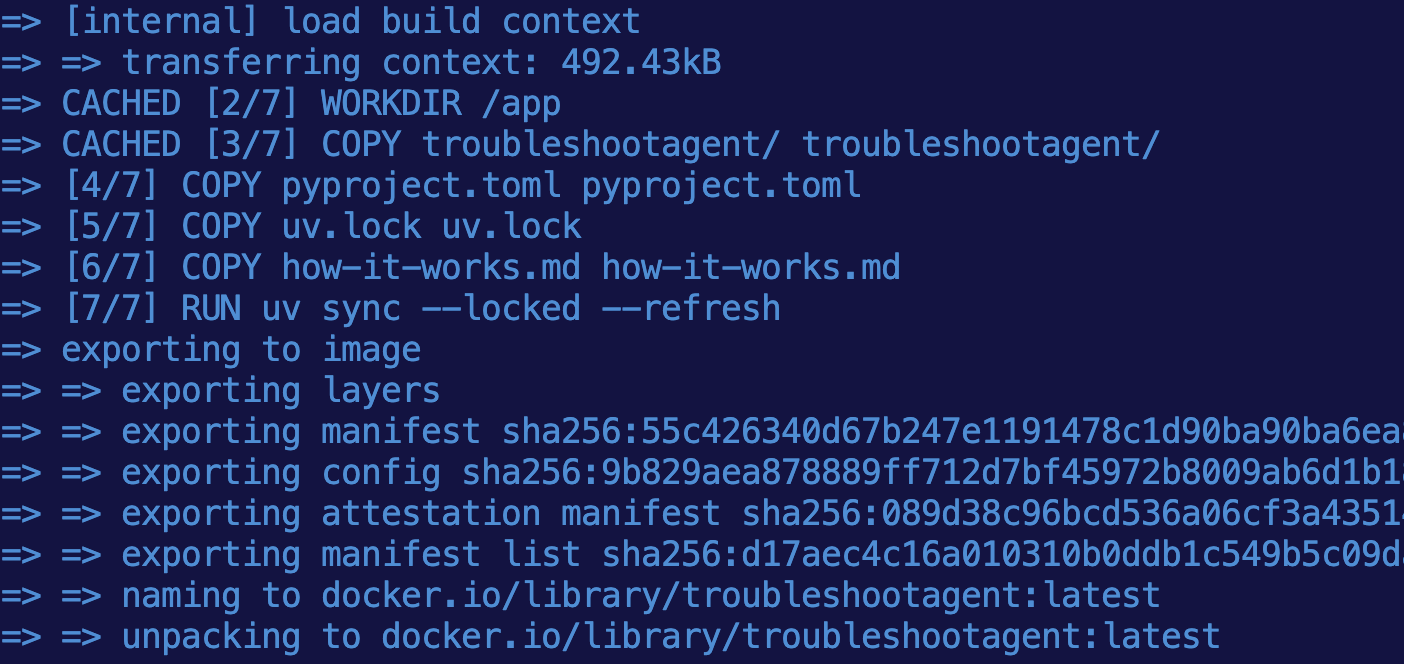
- Run the following command to build the container image.
docker build . -t troubleshootagent:latestIf you see an error about a "uv sync", run the following command to create a lock file for library versions and dependencies.
uv lockYou should see that the image was fully built.
- With the Agent container image local, you'll need to push it to a container registry of your choosing. Considering Docker Hub is free, you can use that if you'd prefer. Below is an example with my GitHub org.
docker tag troubleshootagent:latest adminturneddevops/troubleshootagent:latest

docker push adminturneddevops/troubleshootagent:latest
If you don't want to push the container image to your container registry, you can use adminturneddevops/troubleshootagent:latest in the next section since the container image will be public.
Deploying An Agent On Kubernetes
With the Agent fully built, it's time to deploy it on Kubernetes using the kagent framework. This will give you a declarative method of running Agents in a mature orchestration platform like Kubernetes.
- For the Agent to work, it'll connect to an LLM. You need authentication/API access to an LLM of your choosing. In this scenario, Google Gemini is used, but you can swap it for any AI Provider you'd like to use.
Use an env variable to expoert the API key.
export GOOGLE_API_KEY=- Create a Kubernetes Secret with the API key.
kubectl apply -f- <<EOF
apiVersion: v1
kind: Secret
metadata:
  name: kagent-google
  namespace: kagent
type: Opaque
stringData:
  GOOGLE_API_KEY: $GOOGLE_API_KEY
EOF- Use the
Agentobject via the kagent CRDs to add the Agent to kagent.
kubectl apply -f - <<EOF
apiVersion: kagent.dev/v1alpha2
kind: Agent
metadata:
  name: troubelshoot-agent
  namespace: kagent
spec:
  description: This agent is used to be a Platform Engineering troubleshoot expert.
  type: BYO
  byo:
    deployment:
      image: adminturneddevops/troubleshootagent:latest
      env:
        - name: GOOGLE_API_KEY
          valueFrom:
            secretKeyRef:
              name: kagent-google
              key: GOOGLE_API_KEY
EOF- Confirm that the Agent is running by looking at the Pod in the
kagentNamespace.
kubectl get pods -n kagent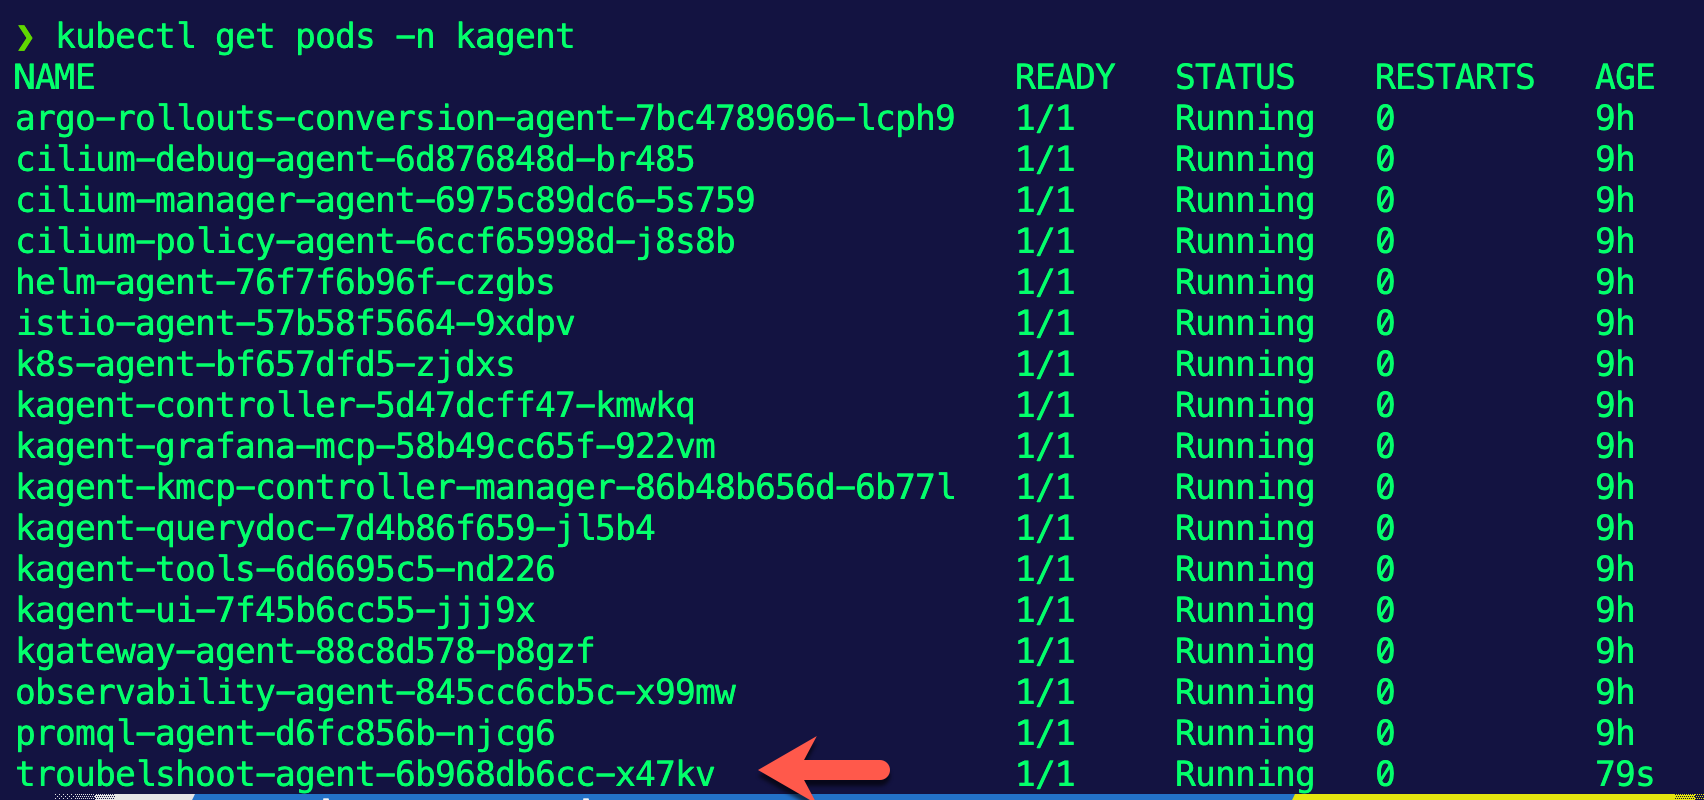
You can now begin using the Agent in kagent.


Comments ()