DevSecOps in CICD With GitHub Actions
The idea of "shift left" is to ensure that security is embedded right from the beginning for any application code and pipeline that's building/testing said application code. Because every organization has some application code and at the very least one pipeline, this is drastically important for any engineers and/or technical leaders with security in mind.
With certain DevSecOps and AppSec tools that are almost out of the box within CICD tools, the configuration can be as easy as a few more lines within a pipeline or even a button click.
In this blog post, you'll learn how to implement AppSec right out of the gate with Dependabot and Snyk in GitHub Actions.
Snyk and Dependabot Recap
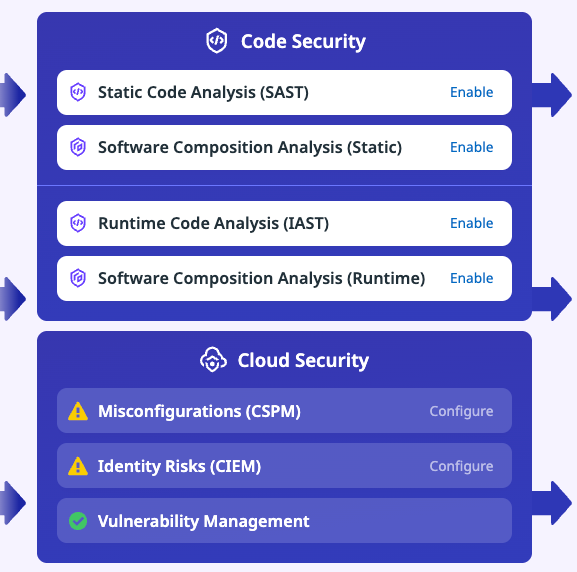
Snyk is a tool for just about any platform that gives you the following capabilities:
- SAST
- DAST
- SCA
- Runtime security
- IaC security
- Container security
- AI security (primarily around Model vulnerabilities)
There's a free version which works on the CLI and a paid version with a comphrensive UI.
Dependabot helps you update known vulnerabilities within your dependancies. It can send you an email automatically whenever there is a vulnerability within your code in GitHub. Dependabot can also create Pull Requests with security patches to fix the vulnerabilities.
With this combination of tooling, you have everything you need to detect issues and fix them within Pull Requests.
Enabling Dependabot
Because of the integration when it comes to GitHub and Dependabot (GitHub bought dependabot years ago), it's straightforward (and free) to turn on.
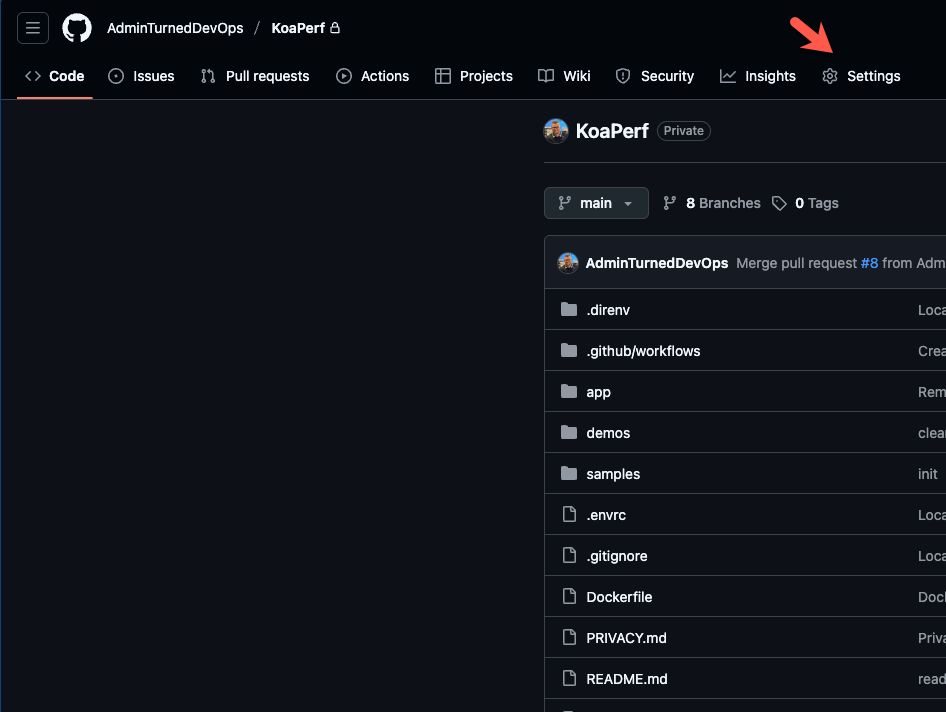
First, go to a repo with your code base.
Next, click the Settings button.
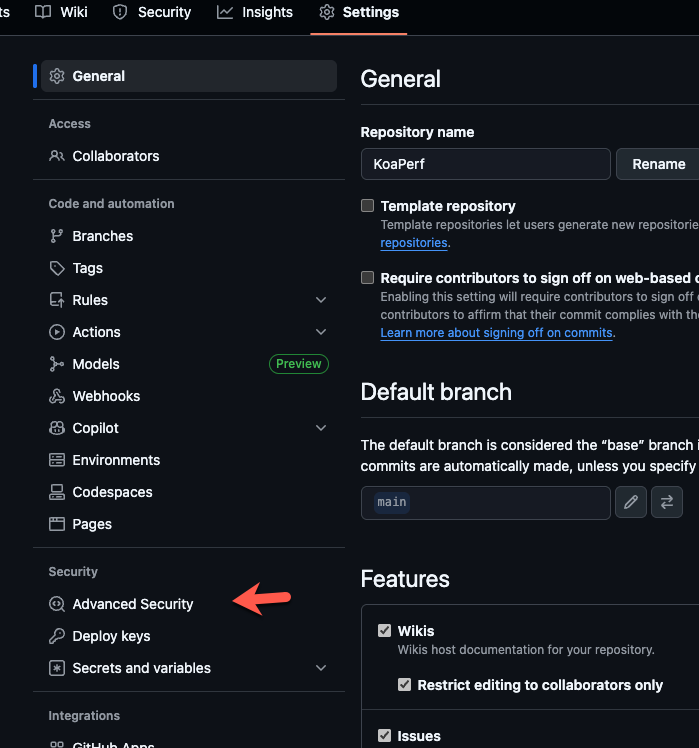
Within Settings, go to Advanced Security.
You can now see all of the Dependabot features.
The two that you can try out from the start to see if you like it are:
- Dependancy graph
- Dependabot alerts
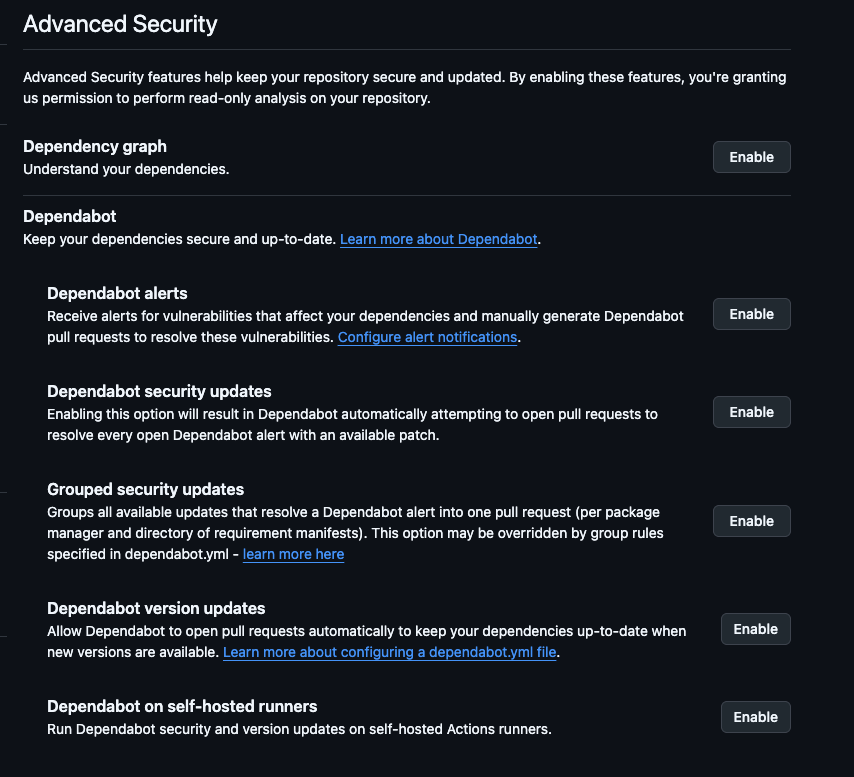
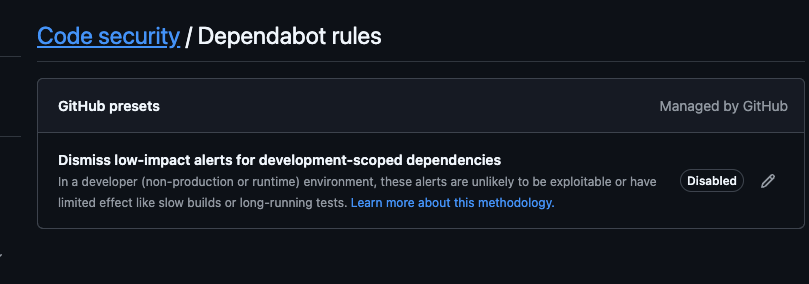
You can also see the one rule that's on by default.
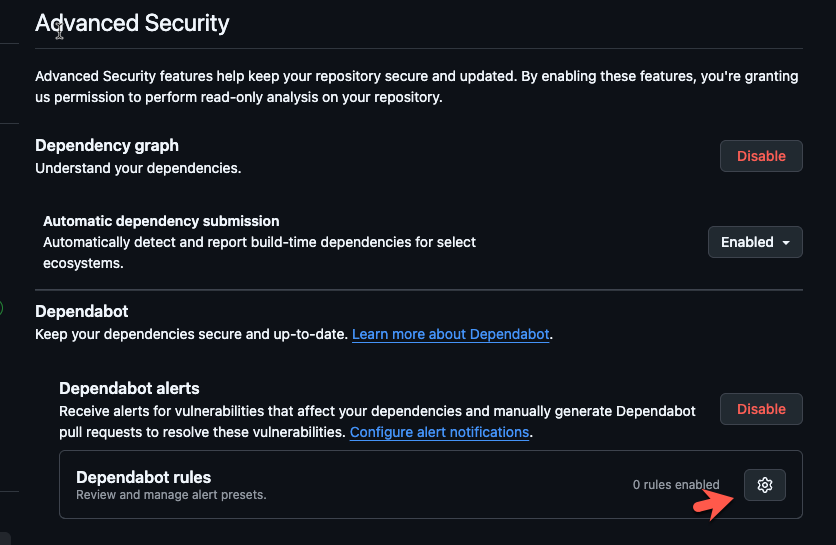
With these two features enabled, you'll begin to get some emails in regards to any vulnerabilities that you can go in and fix.
Implementing Snyk
The second security implementation phase for DevSecOps is to find a tool that sort of "does it all" in a good way. Based on the current tooling available, that tool, is Snyk.
The first step you'll need to take is to sign up for Snyk (which is free): https://snyk.io/. The reason why is because you need an org/account to use snyk.
Once you have your Snyk account, you can go to a pipeline via GitHub Actions and start adding in Snyk workflows.
The first step within the pipeline is to ensure that you have the Snyk Action available within your build/CI process.
    - name: Set up Snyk CLI to check for security issues
      uses: snyk/actions/setup@806182742461562b67788a64410098c9d9b96adb
Next, authenticate to your Snyk account.
    - name: Snyk Auth
      run: snyk auth ${{ secrets.snykToken }}
Once you're authenticated, you can start using AppSec tooling via Snyk to scan your code.
The first tool you can use is SCA, which scans for third-party library/package vulnerabilities and licensing issues. In this scenario, the snyk test command is used.
    - name: Snyk SCA Python
      run: |
        pip3 install -r requirements.txt
        snyk test  --org=${{ secrets.snykOrg }}
The next step is to use SAST scanning, which is like static code analysis, to see if there are any vulnerabilities within your code.
As an example, let's say you had a bunch of Python code in a directory called app/ai, you would run the SAST test as follows.
- name: Snyk SAST Python
run: |
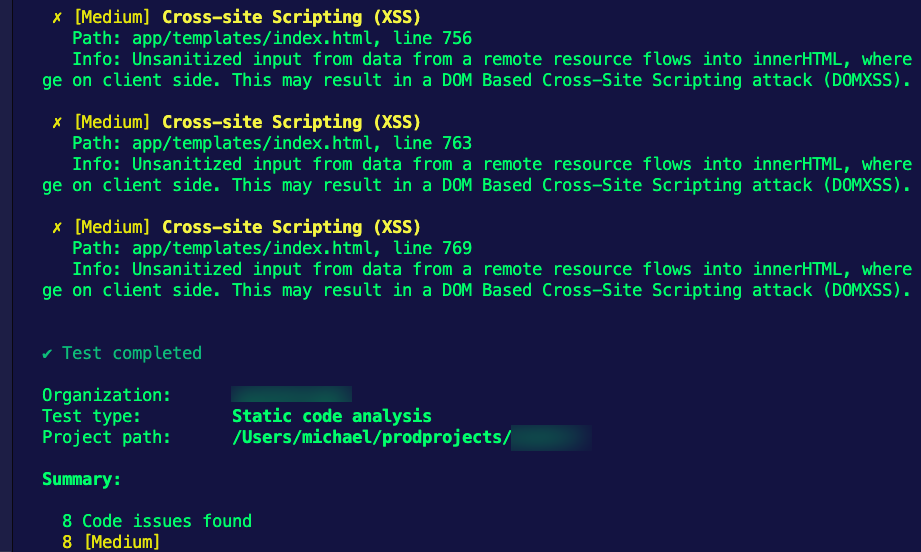
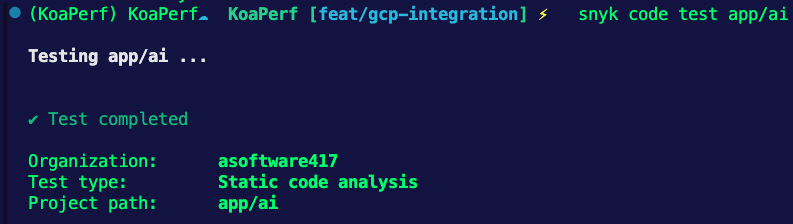
snyk code test app/ai--org=${{ secrets.snykOrg }}If you want to test it locally (on your own terminal outside of the pipeline), you can run snyk code test and see the output on the terminal like in the screenshot below.
One final method of testing, if you're building a container image, is to build a container image within the pipeline and then test that container image. The container image doesn't have to be stored in a registry or anything as you're just building it within the GitHub Action Runner environment during the CI process for testing purposes.
The example below builds a container image via a Dockerfile that's within the directory.
    - name: Build a Docker image to test for vulnerabilities
      run: docker build -t koaperf .
    - name: Snyk Container monitor
      run: snyk container test koaperf --file=./Dockerfile
With that, you've successfully implemented two tools (Dependabot and Snyk) for your AppSec and DevSecOps needs in the modern Platform Engineering world.


Comments ()